Trials and Errors
On Saturday I set up for my first ever solo exhibition: exciting and intimidating! Today my mind isn't worrying about whether or not anyone will like what I'm showing (or even if anyone will see it). Today's thoughts are about how best to use the five hours of set up time...thanks to a nice email about purchasing a rust print I've decided to include the Ten Keys Ten Ways series in my show. That means 90 prints and 10 keys and lots of trial and error around how best to exhibit them.
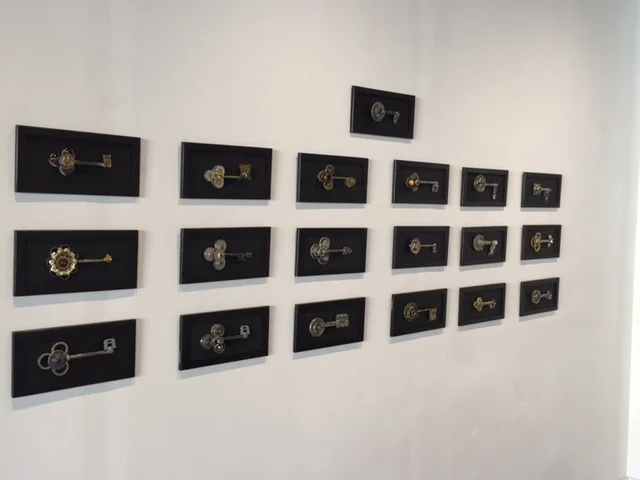
It would look great to frame all 100 keys from Ten Keys Ten Ways and hang them precisely on the wall - all evenly spaced out in columns and rows of ten... Alas, if there's one thing I know about myself it's that I'm not very good at precision. And I certainly don't trust myself to neatly hang 100 of anything in a couple of hours (a few days, maybe!).
After dismissing several ideas I thought perhaps ribbons and binder clips would work. Off to the store I went for ribbon, binder clips, and safety pins. I was a bit challenged to find enough ribbon in the sale bin. I didn't get all the same kind but, eh, close enough. I was a bit concerned that the ribbon wouldn't hold - I made a plan for that involving packing tape (truly a miraculous and useful craft material).
Some of the prints are on cloth. I glued craft sticks onto the top back edges of the cloth so that the prints wouldn't go all floppy when clipped onto the ribbon. 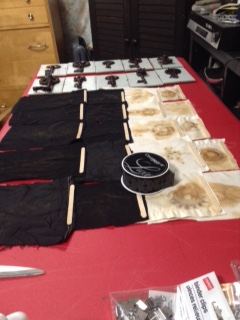 Alas, I didn't have enough ribbon despite my careful mathematics in the store.
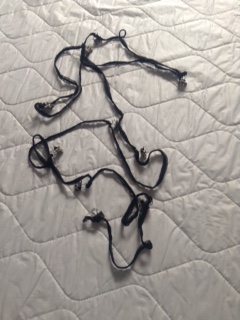
I had come across some flat yarn (I don't know what's it's really called - it's like a thin yard ribbon stuff) in my supplies at home and thought hmm...bet this will work. I'll get some of this in black; it'll be cheaper than trying to get enough ribbon that is all identical; this display will look better if whatever is holding it together is the same - not three kinds of ribbons strengthened with packing tape - how long would it take to measure all the binder clips? Put them on the ribbon? Cover the ribbon with packing tape? Too long! Off to the store for the black flat yarn ribbon stuff I went.
They don't seem to sell it anymore.
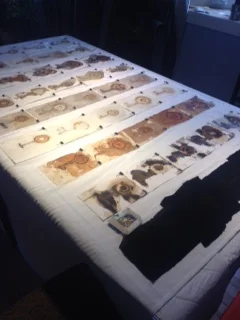
I bought something that was similar. Laid out the rusty key prints. Added binder clips to a length of the black yarn/ribbon.
Clipped on the prints. Hung them from a nail to see what it looked like. Not very good. At all. Not even or straight. I suppose I could have used this yarn/clip fiasco as a guide to put 100 nails in the wall and hang the prints that way. How long would that take? 5 hours? What about the rest of the exhibit? And how long would it take to fill those 100 nail holes during the 3 hour tear down?
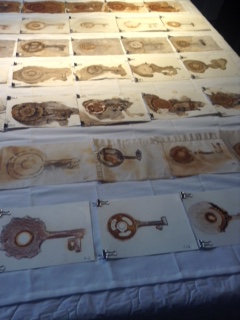
I resurrected an earlier idea, went to a different store, and bought a white fabric shower curtain liner.
I laid the prints out onto the shower curtain. I used two binder clips instead of one, and safety pinned the clips onto the curtain. The two rows of cloth prints I pinned directly onto the curtain - no clips required.
The dining room table was only big enough for 2/3rds of the shower curtain. I worked on this project in sections. It all took a very long time. As soon as I was finished with the shower curtain I found a roll of black ribbon behind some other supplies. I took some comfort in knowing that I could, in fact, add.
In theory the shower curtain idea should make for something that is fairly easy to hang: 20 prints already attached, 10 "framed" keys to hang, and 70 prints to clip into place. I don't have a wall in my house big enough to hang the curtain on and see if this plan worked. I'm trying not to think about how lousy the frames are that I used for the rusty keys in this series. I'm going to add some duct tape to them (another miracle craft material) in the hopes that the cheap hanging clips don't come off.

Everything is packed into a box now awaiting transportation.

I will find out on Saturday if this was a good idea or not.