On Measuring and Resin and How Many Keys It Takes Me to Learn Something
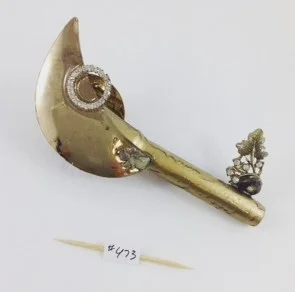
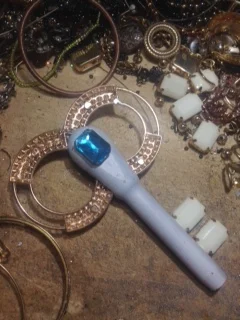
I'm getting better at mixing and applying the resin onto the keys. I like the look of the resin and also that it helps secure all the bits and pieces onto the key. I particularly like the way the resin enhances any rusty bits.
I used to use small plastic dollar store cups to mix the resin in and I wasn't always successful with that measuring. The resin and hardener need to be mixed at a 1:1 ratio in order for the product to cure properly. And yes, there have been times when I've had to redo the resin layer because I didn't mix it correctly and it remained sticky. It took me awhile to realize that the measuring would be a lot easier if I mixed the products in the same cup. Yes, I know - most people probably know this - but I didn't - for easily more than 150 keys....So if anyone has ended up with a key that never "dried" I'm sorry; it won't happen again.
I couldn't find any cups with the measurements on them at the craft store that weren't already part of an expensive resin kit; so I ordered some on-line. Perhaps in my youth I would have been able to easily read the markings on this particular cup; I find the lines difficult to see so I highlight the ones I want with a black marker.


I'm also getting better at estimating how much resin to mix up. Sometimes I've made a bit of a drippy mess of a key just because I didn't want to waste any resin. I discovered the product Ecopoxy through a chance Facebook post. I love this stuff. It's made in Manitoba (right next door to my home province of Saskatchewan), easy-to use, non-toxic, and no to low odour. The only time I really notice a resin smell is if I'm covering something very large like one of my catoptric theatres.
I start by measuring out the resin. It's thick and heavy. I add the hardener (which is thin and light) last because it pours quickly and is easier to measure than the resin. Then I mix everything up with a Popsicle or craft stick.


I wear disposal gloves while I do this because if I don't I will inevitably get the resin/hardener/mixed resin on my hands. It's not that easy to get off and it's sticky so it has a tendency to get onto other things. It took me about 200 keys or so to learn that I must wear gloves at all time when around the resin...other wise I will get it on my hands and then it will inevitably get on something else...and...it's just not worth it.
Once I mix the resin I leave it for about 5 minutes to thicken up a bit and have the air bubbles work their way out. I have about 30 minutes of working time once the resin is prepared. It took me about 300 keys to realize that if I let the resin thicken first I'll have less drips on the finished keys. I'm also more careful about how I put the resin on. Slow and steady truly does win the race.

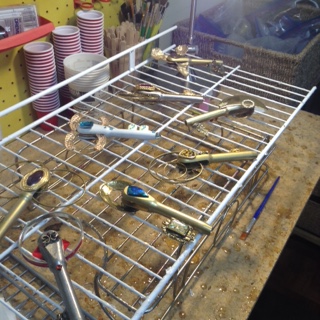
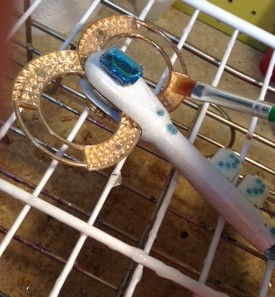
I lay the keys out on wire racks (3o keys before I tried this) for the resining step in the key making process. This means that there are only a few contact points between the key and the rack; any drips will fall away from the key. I use dollar store brushes to apply the resin. I figured this out somewhere around key 50 - so much more control with a brush than just using the craft stick. The nylon brushes seem to work best (less hairs falling out). The cups and the brushes can't be reused (although I can usually reuse the craft sticks multiple times). I generally wait until I have a batch of keys before applying any resin so that there is less waste. Ten keys seems to be an ideal number to work on - the resin is still workable by the time I'm on the last key.
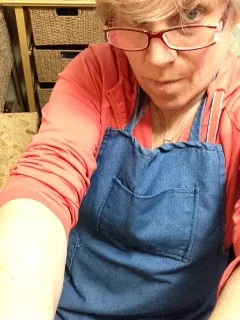
Once I'm finished applying the resin I come back in an hour, remember to put the gloves back on (this lesson finally sunk in at about the 350 mark), lift up each key and clean off any drips with the paint brush. After about 8 hours I'll turn the keys over and resin the other side. They fully cure in 24 hours. I wear an apron because sometimes I drip on myself...although that hasn't been happening since I started taking more time for this task.
I