Keys 1920 - 1924 and the Resin Woes of Key 1921
I’m enjoying getting back to making keys out of old bits of jewelry and other detritus. I spent a long (long) time exploring keys made from childhood craft techniques and I’m still adjusting back to the original reality of this 5000 Keys project.
It took some digging through my tool box of rusty bits before I found the right pieces to complete Key 1920.


I’m still not sure what I think of this key but it’s done and I’ve got three thousand and eighty keys to go so I’m going to make it count (even if I don’t understand it and the jury is out on whether or not I even like it).
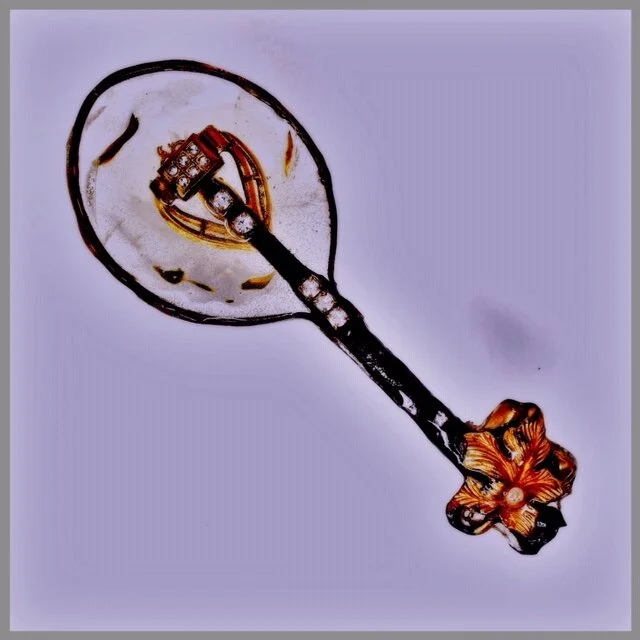
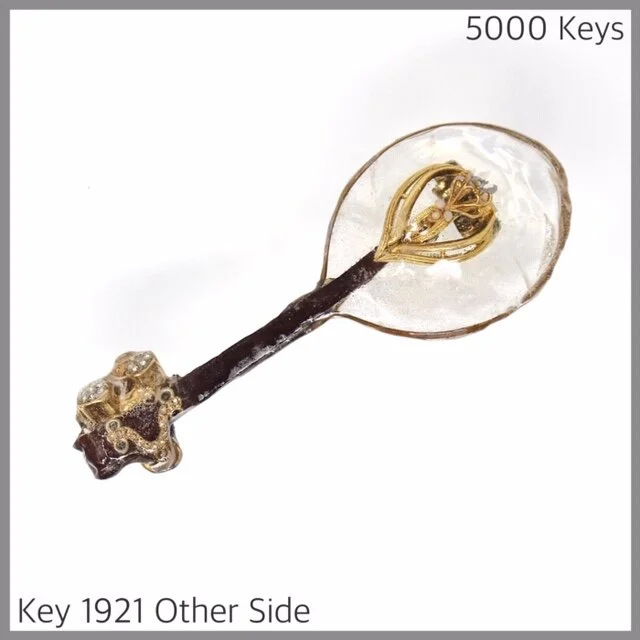
Key 1921, however, I did like. A lot. I was very happy with the way the ruggedness of the handmade nail looked against the somewhat delicate gold jewelry and the sparkly rhinestones.
Towards what I thought was the end of the process I decided that adding more resin would make for a much stronger and more delightful key. I used tuck tape and cardboard to make a crude (very crude) mould to hold the key (resin) in. This didn’t really work. I used a heat gun to get the bubbles out of the resin. This also didn’t really work. The slow heat made the resin runny, melted the tuck tape, and couldn’t be applied for a long enough amount of time to pop all of the air bubbles.
I’ve read about the benefits of flashing the resin with a torch…I need to think about this a bit more - what sort of set up do I need for the keys so that I can use a torch to pop the bubbles and not risk setting things on fire or melting whatever is supporting the keys? Is this incentive to get the garage workshop in order? What would that mean to my current methods of snatching time in the wee hours before work or late at night when I really should be sleeping so that I’m not late (yet again) for those working hours.
I poured several layers of resin into my not very good mould before I finally admitted that I’d overworked the piece. I made a crude attempt at sanding down the excess resin with my trusty Dremel 4000 tool. Alas, there was too much resin! I braved the cold, cleaned the garage up enough to work in it, got out my Dremel Moto-Saw and began to cut away the excess. It was a very messy job (one that I should have worn a mask for) but it was fun! And the Key began to look better and take on a shape. It’s a pretty hack job of a key. Not a refined finish at all! But it does feel very nice to hold and there is a bit of an air of mystery about it. If nothing else this is a key that has lived a life and has more stories to tell than most of my creations. Here it is in all its glory:

I had some more “too much resin” experiences with some other keys around the time of Key 1921 - those keys aren’t done yet (and need some sanding - which most likely will require the creation of a sanding box - before they are presentable).
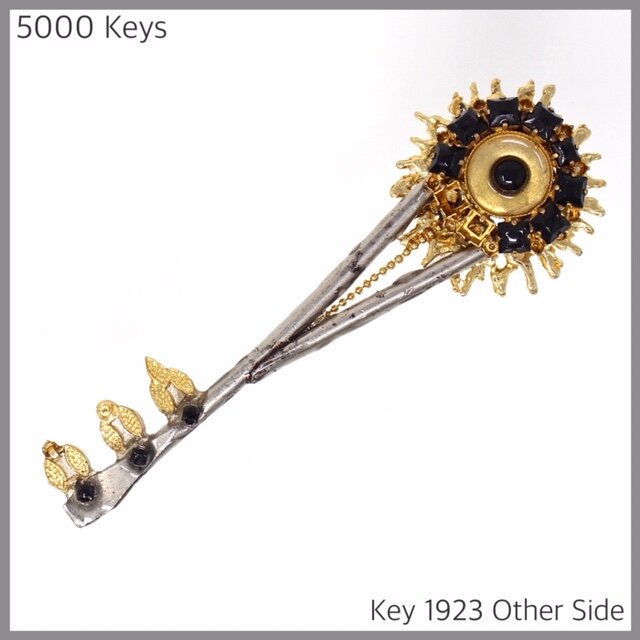
In the meantime, please enjoy the following keys, made in a less resin happy and more “I know this method will work” way: