Indoor Sanding Box and the Overworking of Keys 1932 - 1924
Occasionally I try and be clever about resining my assemblage keys and create makeshift molds. In my mind: the keys will become surrounded with a lovely layer of clear resin that will hold delicate bits together and feel smooth and beautiful to the touch. In reality: I don’t seem to be learning from my past and keep persevering with ideas (like using play-dough or tuck tape) that don’t really work. Ideas that result in blobs of resin and a key that is lost inside a strange shape. Ideas that lead to a lot of cutting and sanding with my trusty Dremel tool. Cutting and sanding that is best done outside. An activity not conducive to the overly long Saskatchewan winters.
I watched a video about how to make an indoor sanding box sometime in January. Sometime in February I purchased a large plastic box (on sale - hurray!) to make my own indoor sanding box. Sometime after that I realized that I already had a large plastic box that would work; one without wheels on the bottom that might get in the way. I had a nice thick piece of plastic (the back of a sign holder from Staples) to use as a “window” on the top of the box. Cutting the hole for the window with an exacto knife was a challenge which is best described as a failure. I decided to drill holes into the plastic to make the job easier.
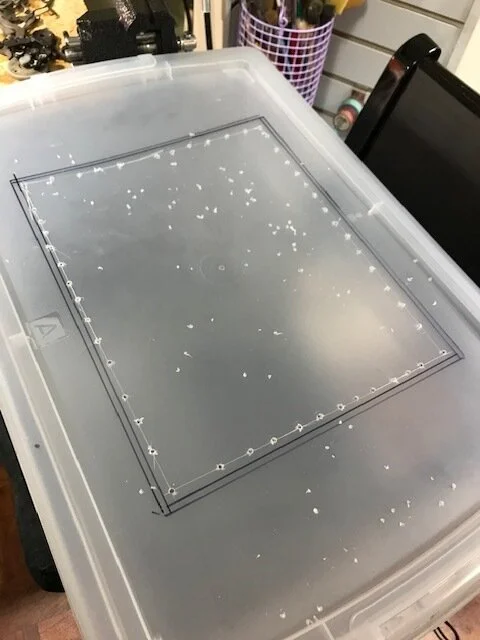
I managed to cut a “window” slot - nothing at all like the straight lines in the video I watched.
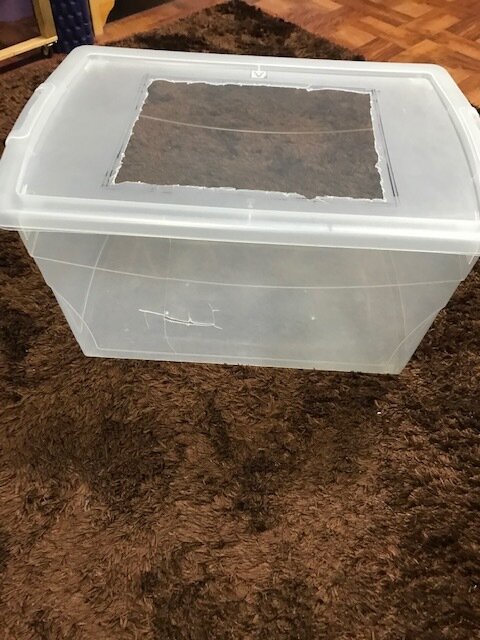
Things got worse when I tried to cut in some hand/arm holes…

I didn’t give up at this point…I just…walked away…eventually I wondered if I even needed a plastic bin. Maybe I could use an easy-to-cut cardboard box and seal the whole thing up with packing tape? Some time after that I was cleaning up the garage as one does when living under a “don’t leave the house unless you really need to scenario” and I spied a lovely blue Rubbermaid box. A glorious box made of thick, soft plastic. Soft plastic that I thought would be relatively easy to cut…

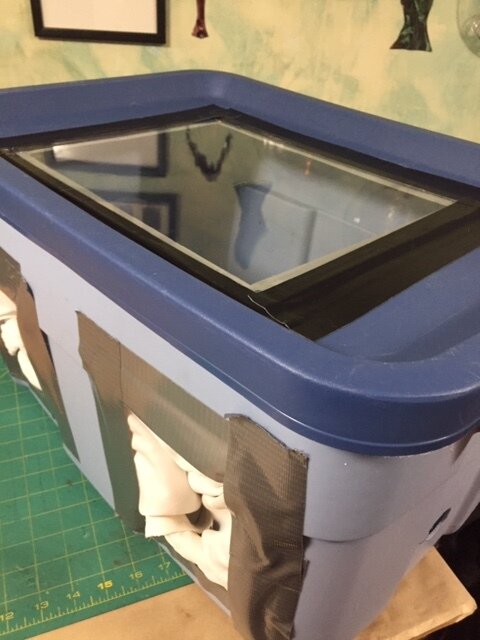
Window ready to be taped down (I used weather stripping tape and ended up covering it with gorilla tape to make it sturdier)

Hand/arm holes.

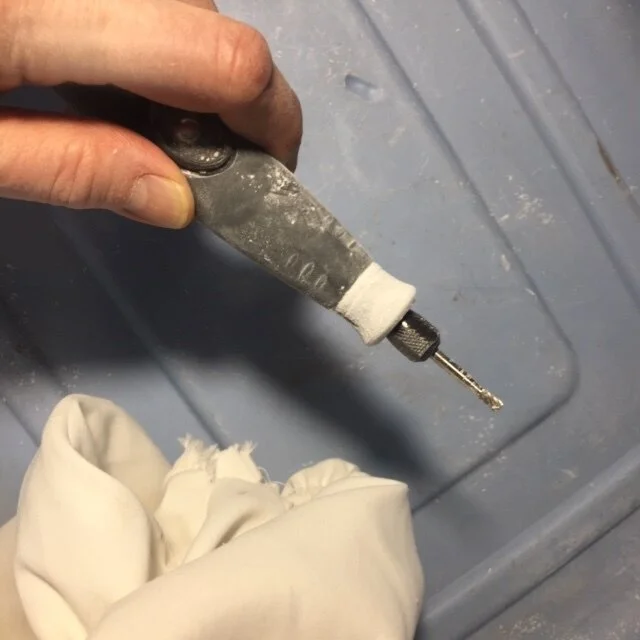
Dremel hole.

Cutting complete!
I made some sleeves from an old shower curtain liner. Initially I made long tubes; they worked as sleeves but were too narrow to attach to the box and were too tight to move in comfortably. Sometime in the night I thought that maybe if I cut out a big circle there’d be plenty of material to attach to the holes in the box. The next day as I was putting this plan into action I decided that a half circle would do and I made two cone-shaped pieces. I sewed elastic into the ends so that the sleeves would fit snugly around my wrists.
Here’s me holding the Dremel inside the box; you can see a bit of the sleeve that I’m not using (because I’m busy taking the picture). A very clear view into the box!
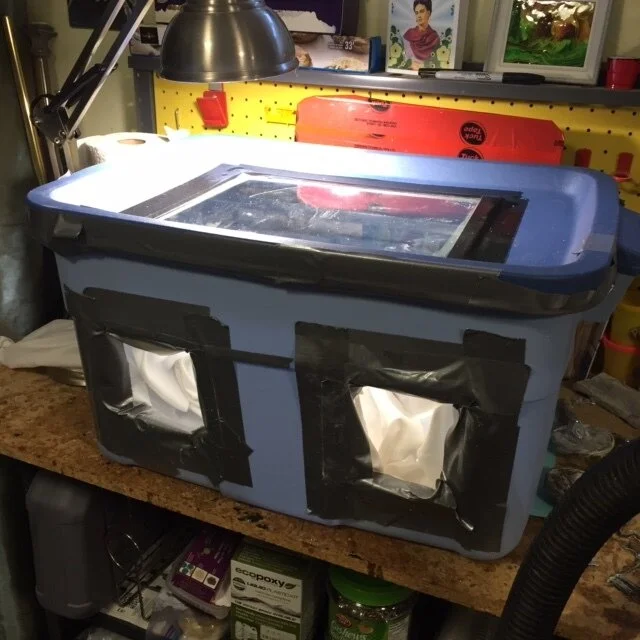
I taped down the lid of the box with duct tape, making sure to work the tape around the edges so no dust could escape. I used one of the too-skinny sleeves for the vacuum and the Dremel holes. For the vacuum I took a piece of no longer needed sump pump hose to connect the box to our upright vacuum attachment (which is a pole that would be a real challenge to connect easily…but now that I write this maybe not…hmm…idea!). I taped the hose into the hole and covered the inside of it with a piece of floor vent filter (lest I inadvertently drop something and suck it out of the box). I wiggled the Dremel tool into the box and found that I was able to tie the end of the long sleeve around the cord - effectively stopping any escape route for the sanding dust. The vacuum made a terrific whistling sound when I tested it and desperately tried to suck out my shower-curtain-liner sleeves.
Once I got some keys inside and the vacuum turned on I was ready to go. Very quickly the filter was clogged with resin bits and my sleeves were puffed up as if I was filling them with air (I’m not really sure why that happened). I took the filter off the vacuum. I switched to a different Dremel bit. The vacuum sucked up a small worn out sanding attachment. I decided I didn’t need the vacuum on while I was sanding. I switched to a finer sander and got my hands covered in dust. I decided that wearing gloves would be a good idea. Most importantly of all - the dust was all contained in the sanding box and it was very easy to see what I was doing. I managed to sort out many key-resining mistakes. I declared my creation a success! Hurray for the little victories in life!

I spent a fair bit of time sanding and then adding even more resin to Keys 1932 - 1934. They were so much better before I tried to make a thicker resin coating. They are very crude and still have some rough spots. It feels like I’m going backwards with this work. There were several times when I almost abandoned these keys (especially Key 1932). Perhaps I could make a case for the deeper meaning of the keys just reflecting the rough times the world is going through and how underneath it all lies treasure…nah! 5000 is a big number and I keep getting sidetracked into other things…so these keys will count. No matter how overworked, no matter how ugly, it all counts. All I can do is keep going. All I can do is keep count and do better on the next one.