Wearable Art Part I: Embellished Jean Jacket (and Keys 2518 -2521)
The road was quite a bit longer than I thought it would be when I first set out to create this Embellished Jean Jacket for the Saskatchewan Fashion Weekend Jack Millikin Centre & Wiebe Works Wearable Art Show & Gala; that’s mostly because I didn’t realize just how long the sewing would take me. I really enjoyed this particular creative journey in key making though and I’m glad I persevered until I got the jacket to a place where I was satisfied with it.


My plan was always to make ten keys for this jacket. The jacket itself I picked up on sale at the Bay early in the summer. I didn’t know why I was buying it, but it was $35, black (ish), and a different/interesting design for a jean jacket - plus it fit me!
The first things I did were to order some rhinestones and fake “gems” online (sad that I couldn’t get these locally) and visit several stores to buy felt, beads, sequins, thread, and thin beading needles. There are a few great places to buy beads in town - and what an enjoyable experience that is! Next, I dyed the jacket a deep purple. At my costume designer friend’s suggestion, I used liquid dye (and I used two bottles because I wanted a rich purple colour). I think this is only the second or maybe third time I’ve ever dyed anything and I am very happy with the results.
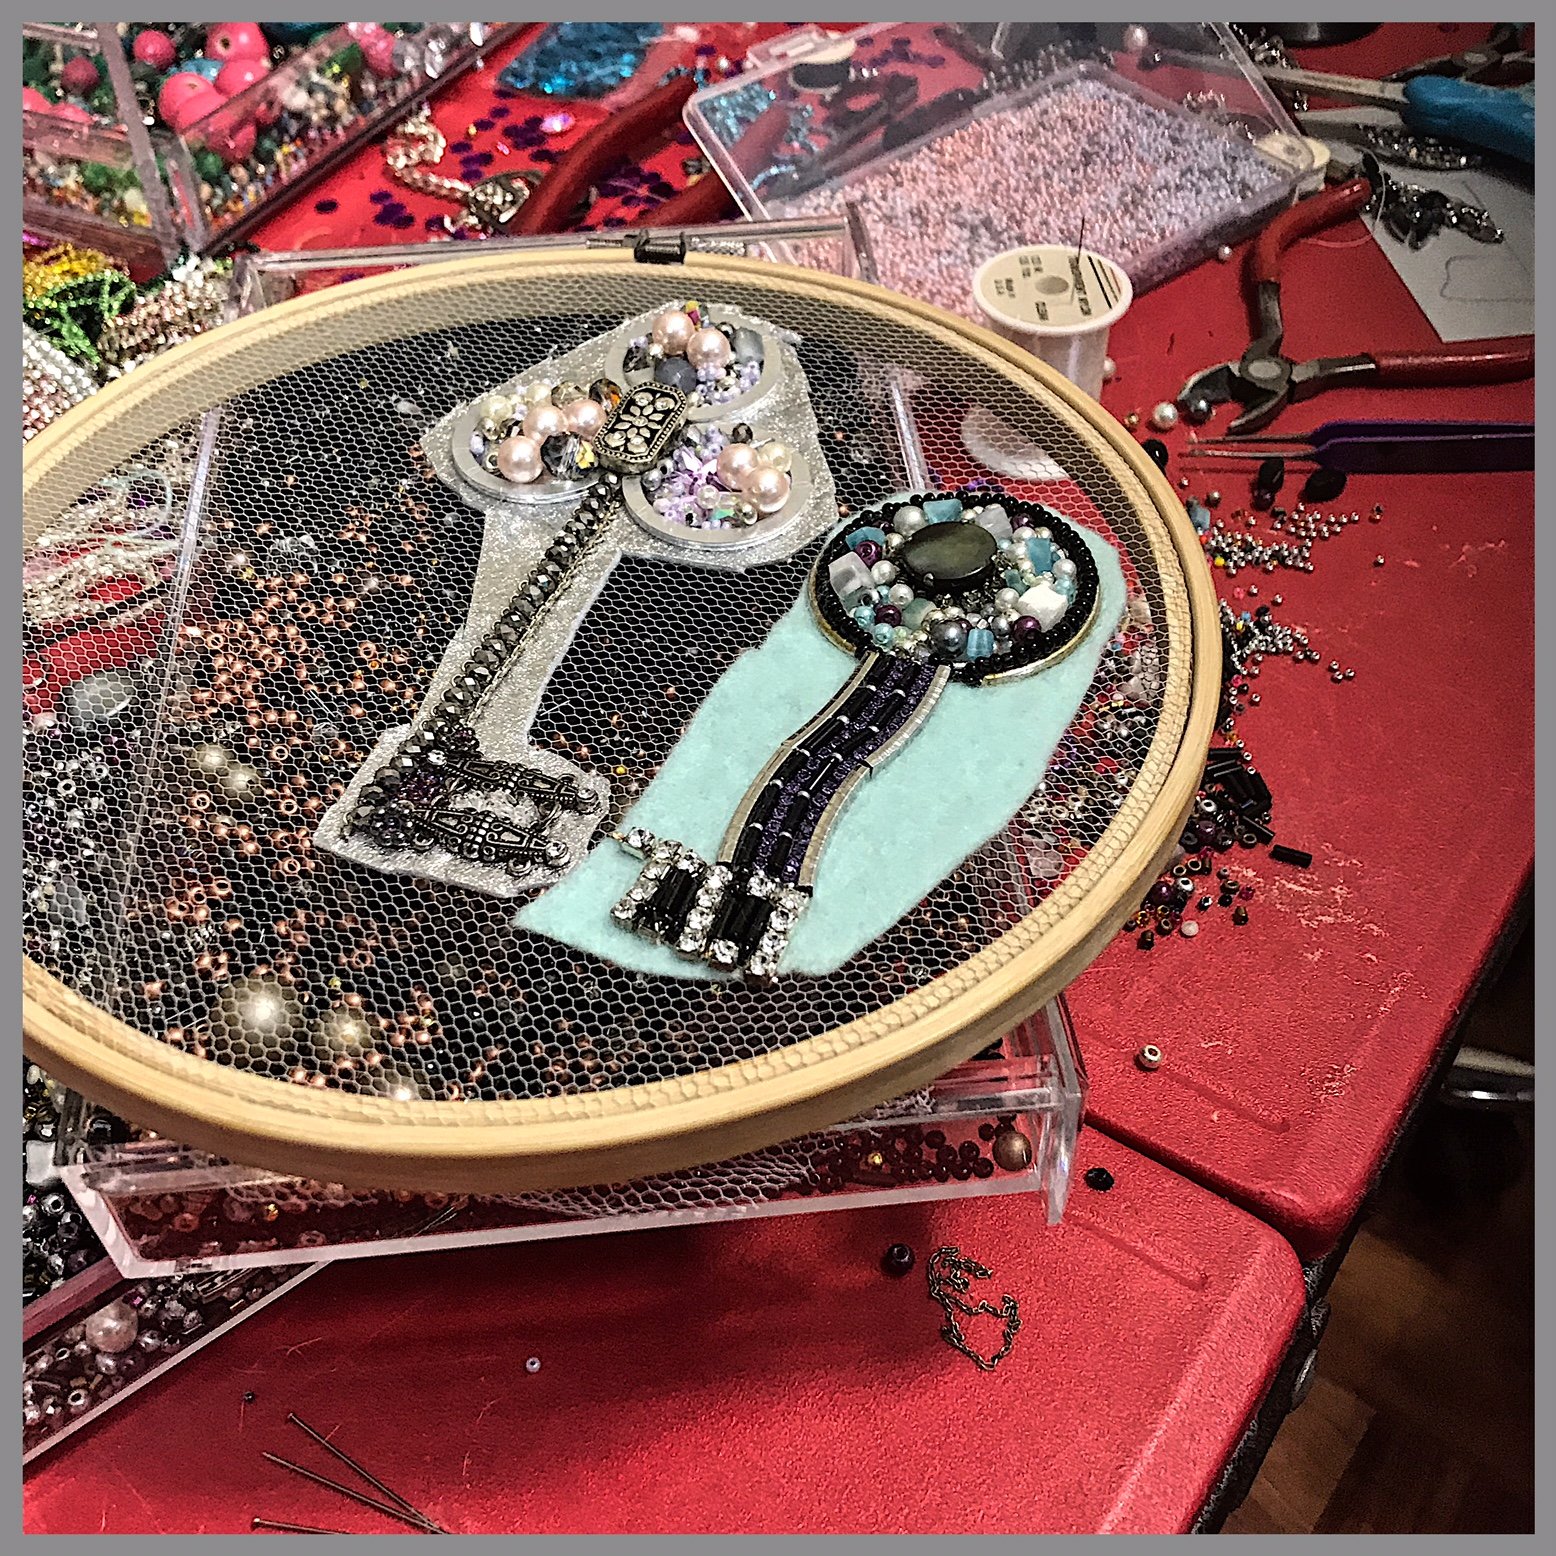
For the most part when making the “rhinestone and bead” sewn keys I used felt basted onto craft netting that was held tight on an embroidery hoop. This did make the sewing easier to manage. However, it took me until about the tenth key to remember to keep all stitching away from the edges (and thus avoid cutting it when I trimmed the felt). And in case you are wondering the answer is yes, yes, I did end up resewing many of the bits on these jean jacket keys.
Here’s a look at the beginning of Key 2501:


I did end up sewing the other parts of this key (and Key 2502) directly onto the jean jacket. It was impossible to get the hoops to work; I used some bulldog clips to attach the bottom hoop - sewing (or is it really a type of embroidery?) was much easier if I could get the material taught.

To start the keys I would look around at the supplies I had out and then gather the bits together into an idea.

Keys in progress:
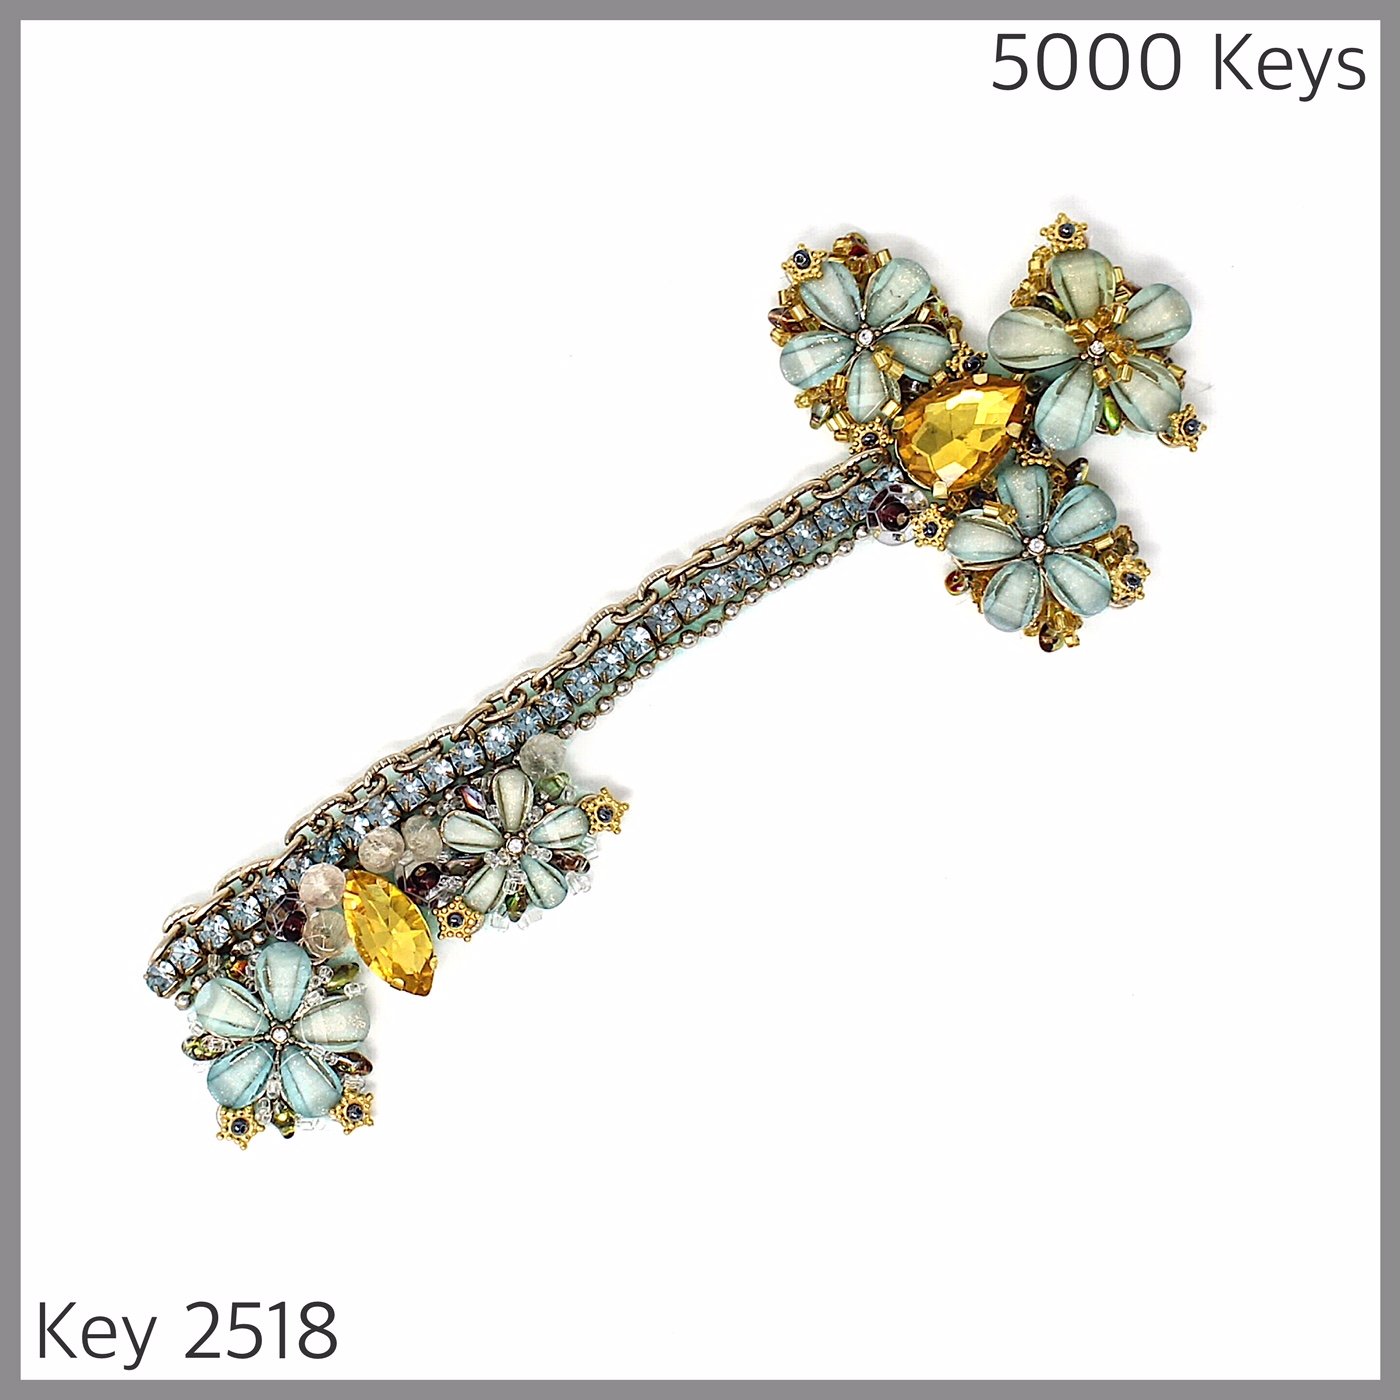
Finished keys:


Once the keys were done I did an initial layout on the jacket where I thought they should go:

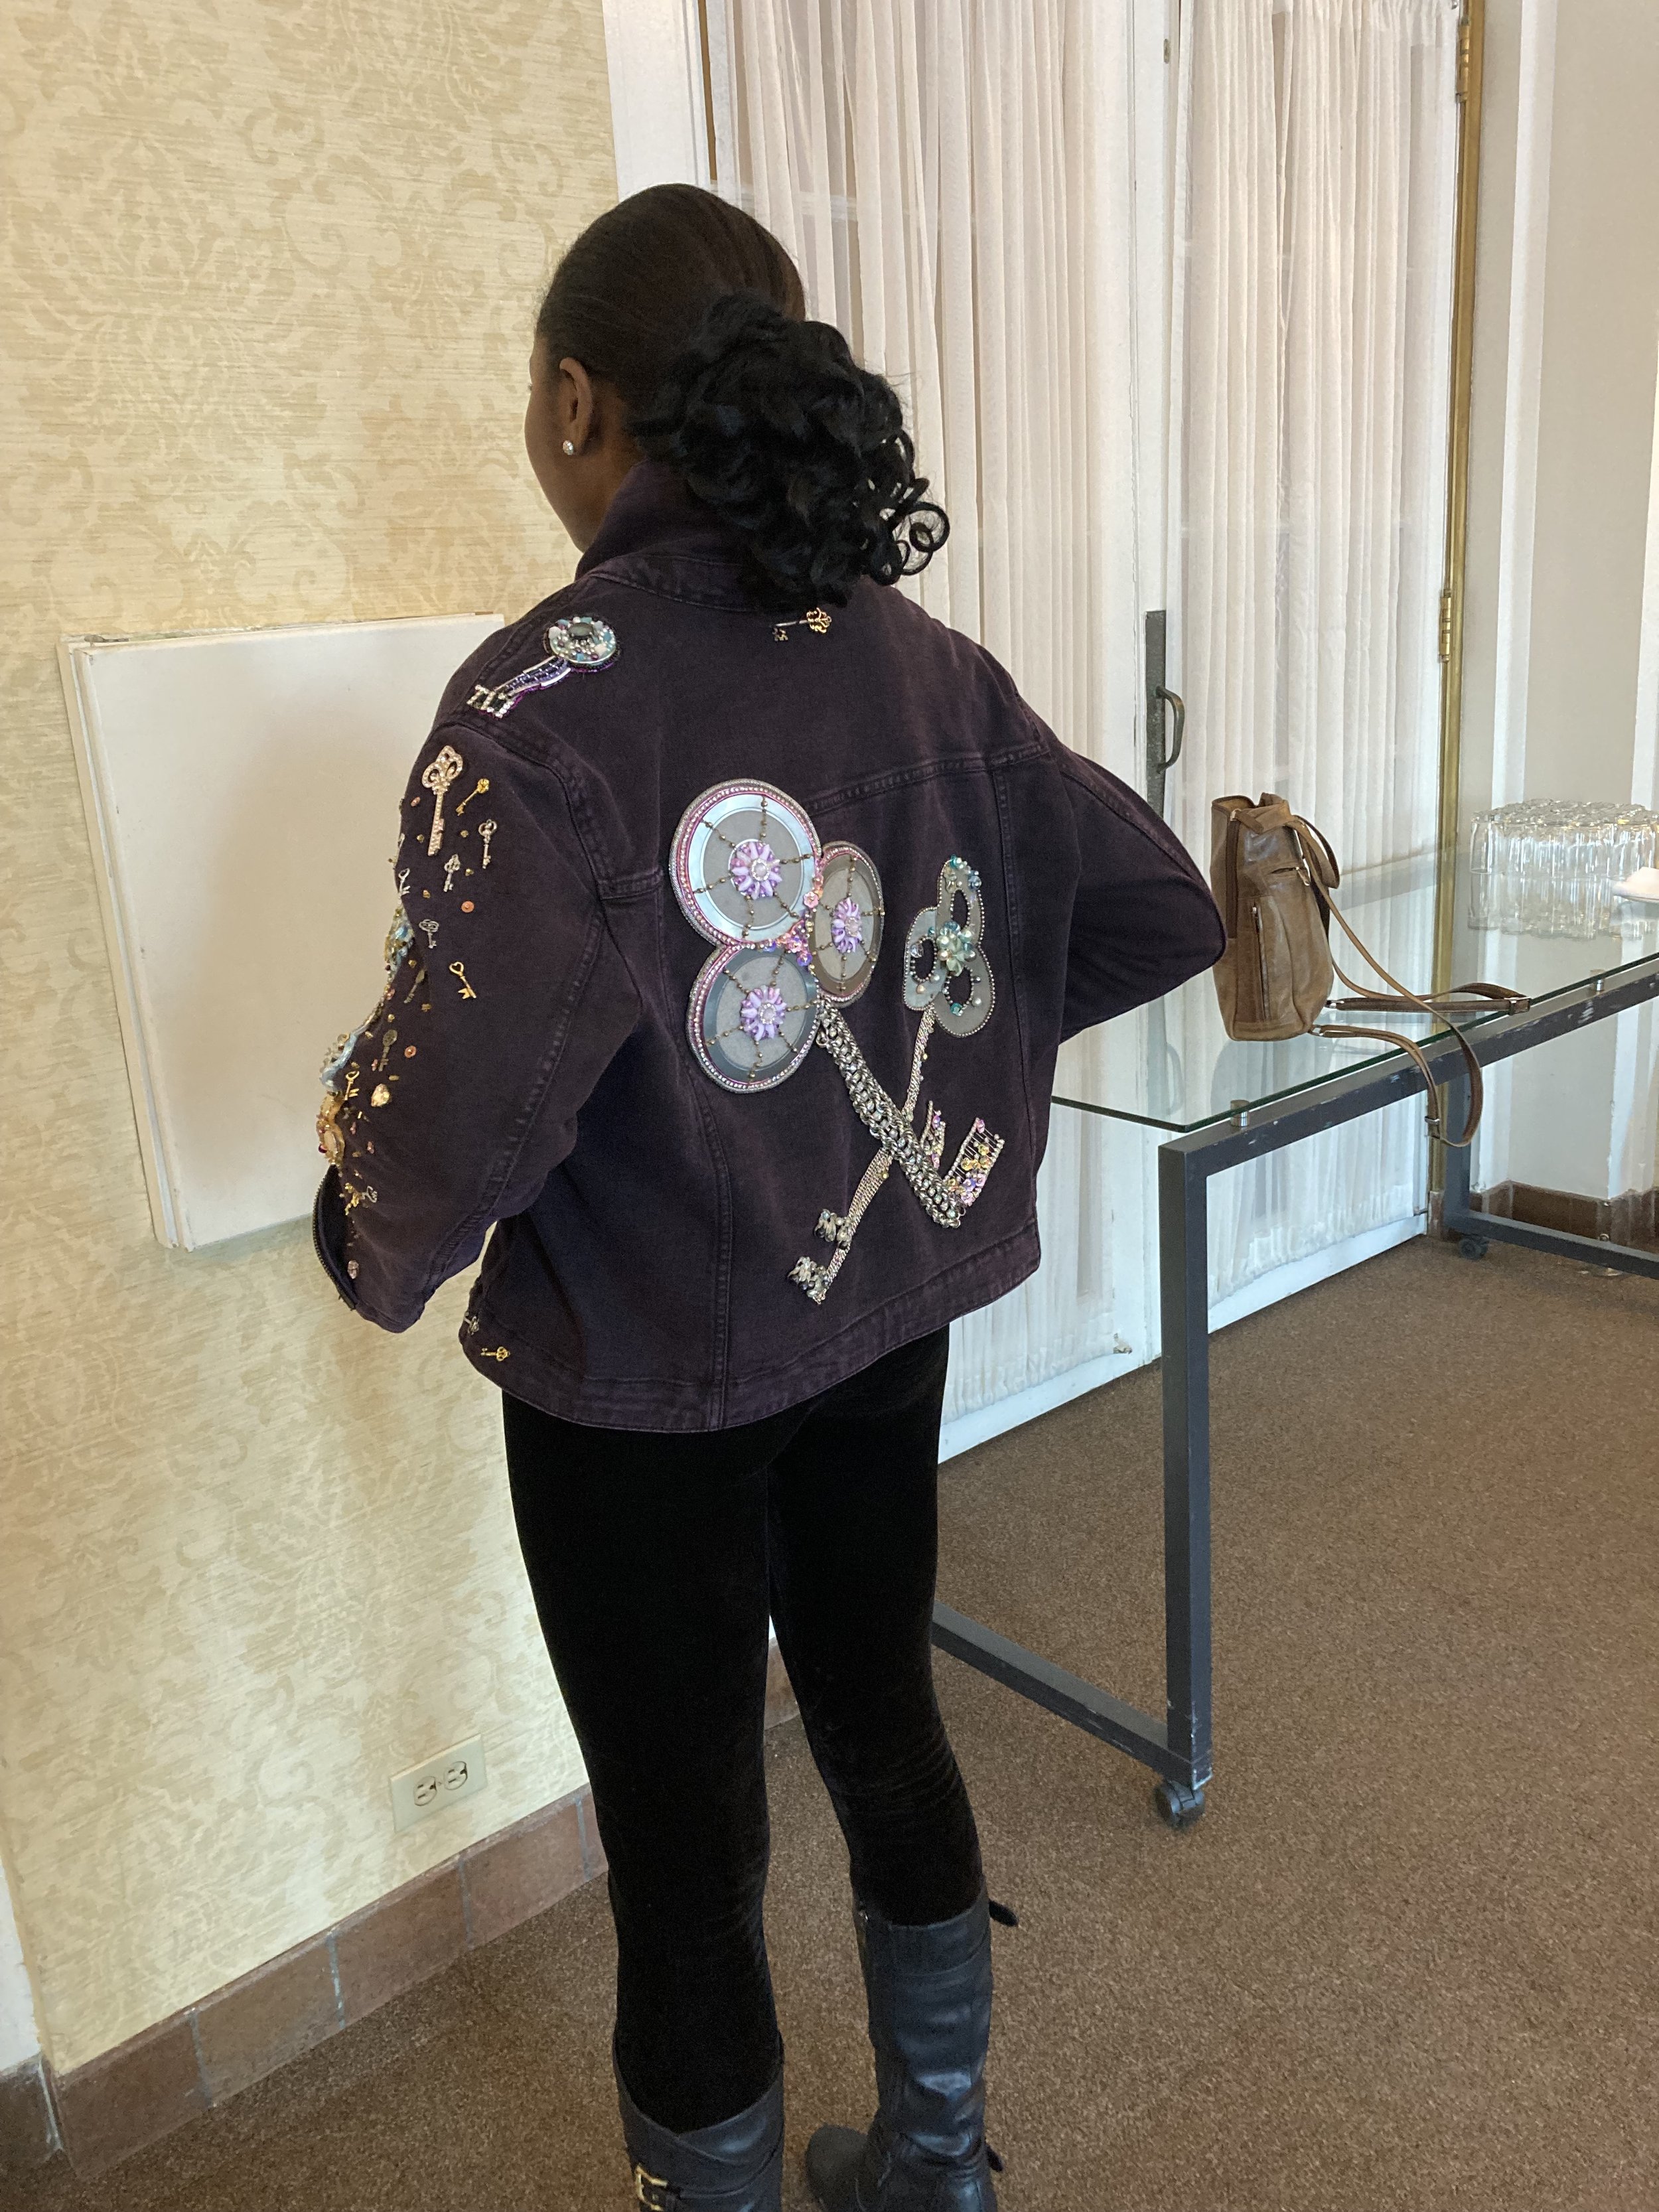
I only managed to get one key sewn onto the sleeve before the initial fitting (and ended up taking it off and repositioning it a week or so later). I was blessed to work with model Sameiratou Osehni from Masala Model & Talent for the gala show.


Here is the jacket with all the keys sewn on. Even though a lot of work went into the keys I thought they didn’t look like much on the jacket…

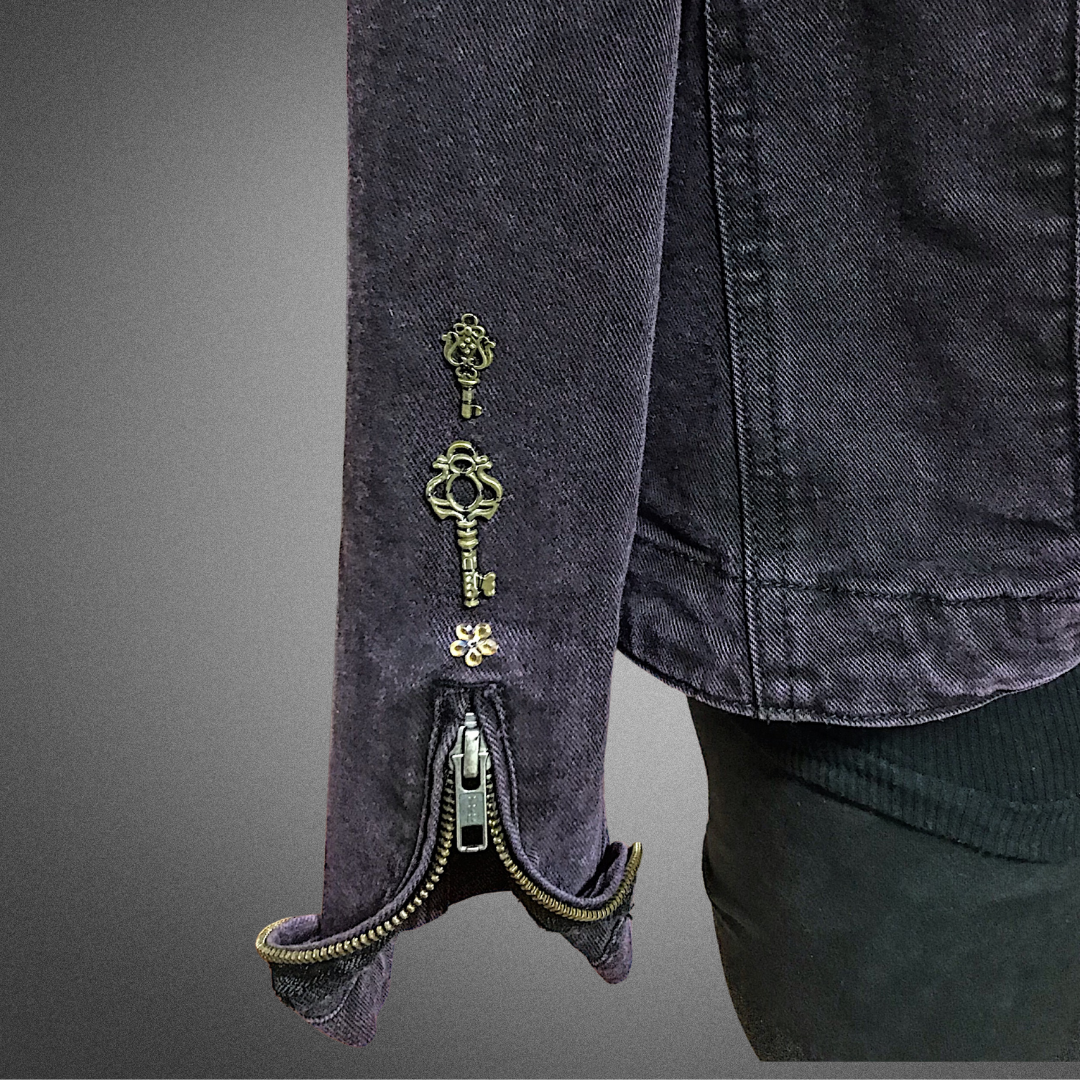
So I added some key charms (I just happened to have about 100 of them because people always tell me about key stuff and sometimes I get the things they tell me about). Still though, I thought it needed more…

So i added some beads and other bits and then the jacket felt complete!

Here’s a link to a video from the rehearsal: “Embellished Jean Jacket” rehearsal - YouTube