I bought this cool thing:

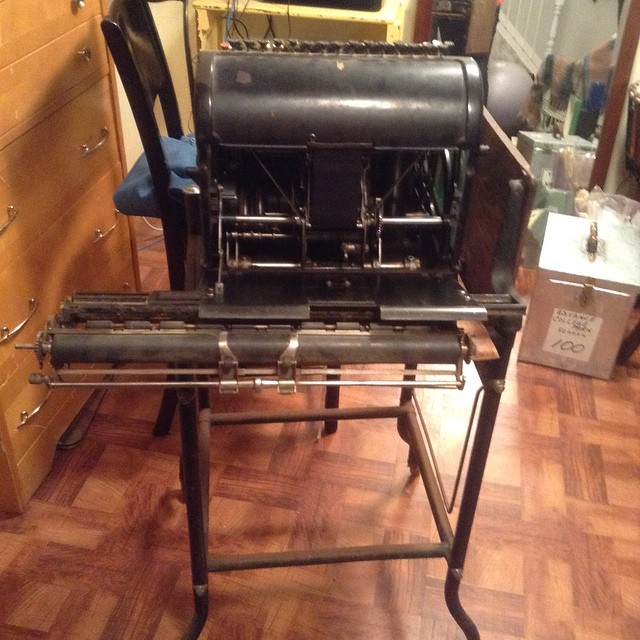
It's an adding machine invented/developed/made by William S. Burroughs. This model is from 1910. William S. Burroughs the writer - or should I say, William S. Burroughs the Second is the grandson of this inventor. A monthly cheque from the Burroughs company is what allowed the second Burroughs to write (among other things). I thought it'd be great for key making parts so I began some
Deconstruction:
I didn't have a clue how to get the cover off - luckily a nice man in the U.S. who has a website about Burroughs and his machines helped me out!
Also my husband was a great help - especially on some of the more stuck screws (which possibly haven't been turned since 1910).
We managed to get into the back of the machine.
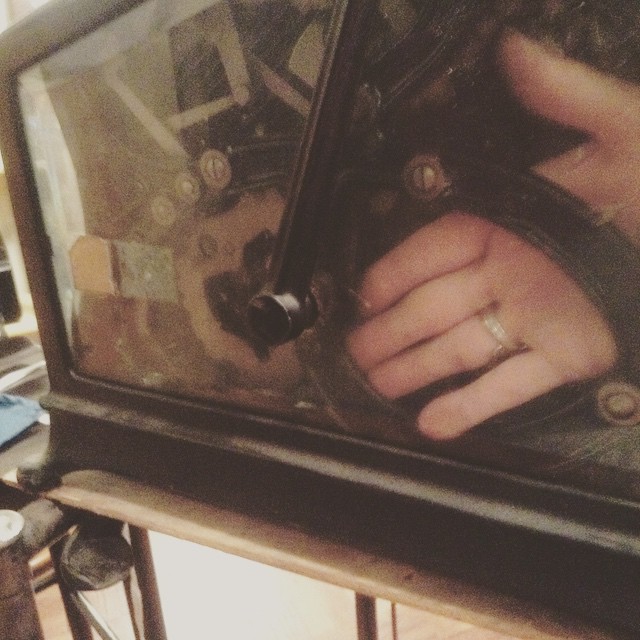
I wasn't sure how to get the handle off but in the end it was quite easy:

And I don't really know how we got the cover off - my husband and I were trying all sorts of things and then suddenly it came off (o.k. - my husband pried at it and then it was free).


Pretty cool hey?
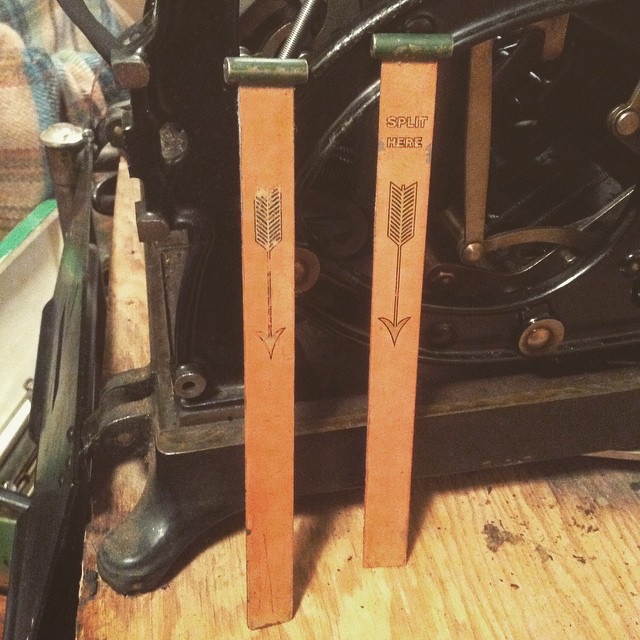
I was amazed at how green the back of the felting was - this must have been really something when it first came along.


Dragon Eggs:
I was working on a sculpture for a show I'm in next spring and it didn't go well. I couldn't get the clay to at all represent what was in my head (a lone figure next to a pit of despair). A pit I sometimes teeter on the edge of. I don't often fall into the infinite sadness but I have and I still do at times - I was interested in capturing that feeling because I think if people can recognize that other people feel like they do then maybe (just maybe) they will feel a little less alone in the world.
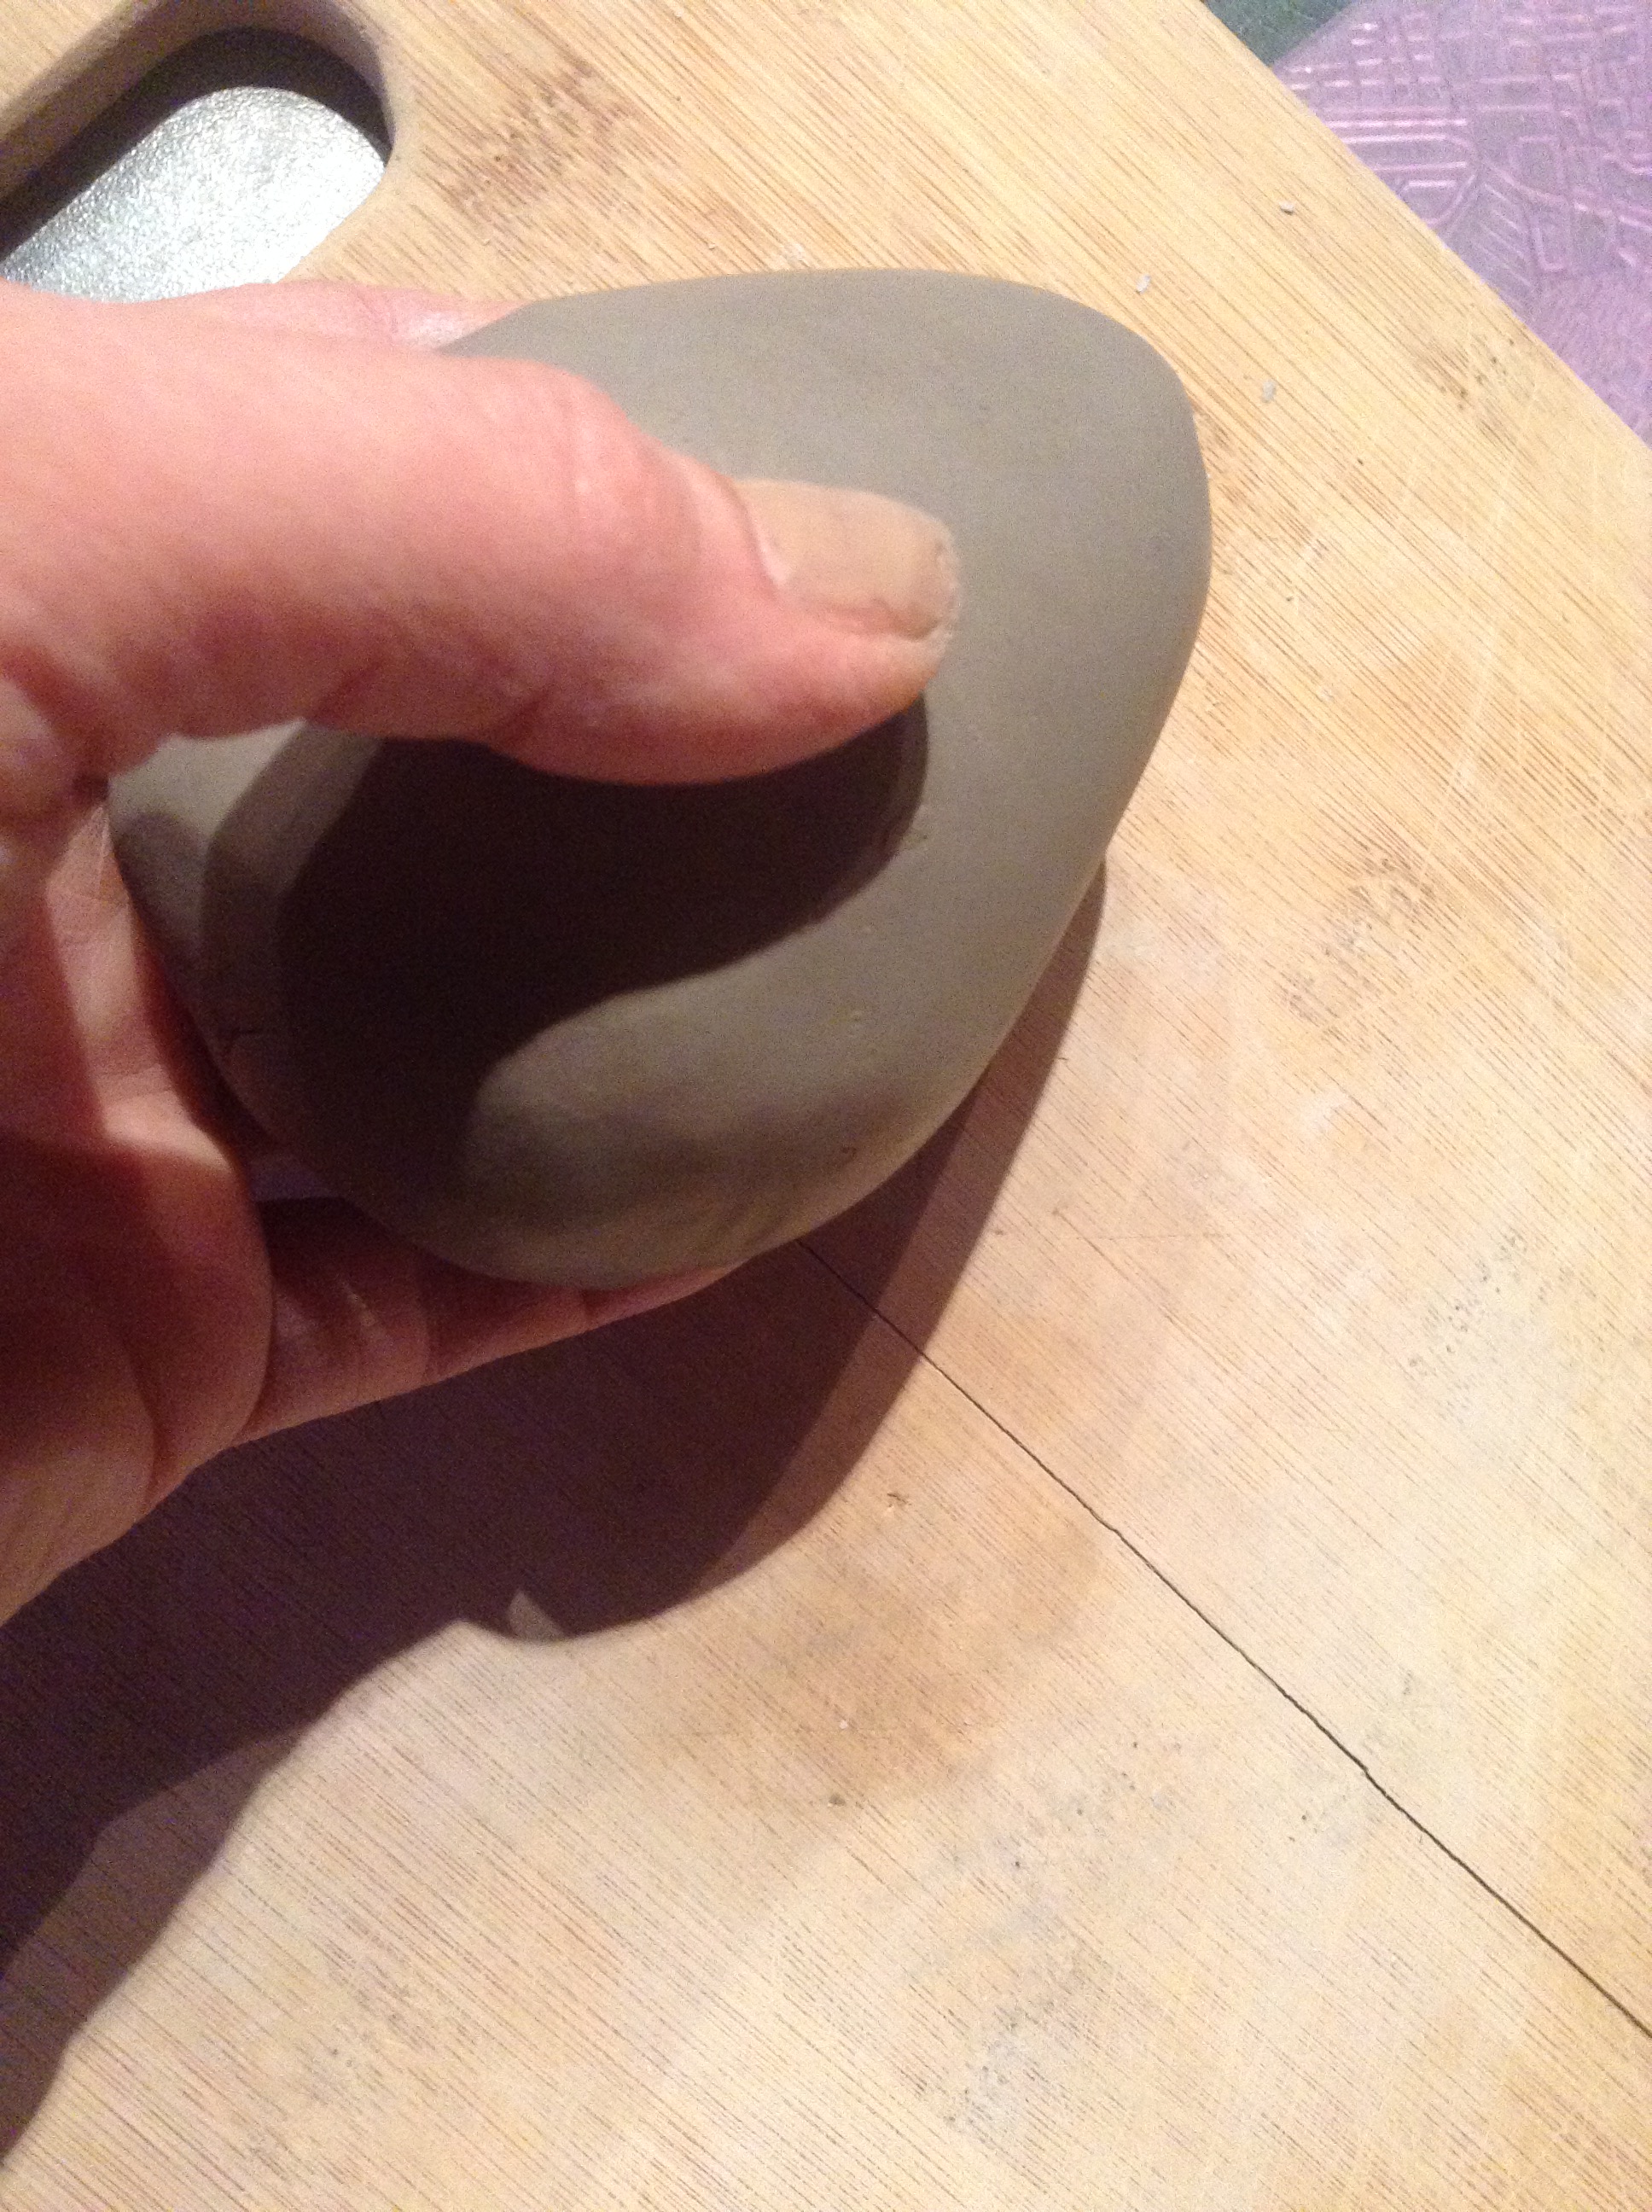
I went to bed after having mutilated the clay for a few hours. The next morning I woke up with the thought that the clay was the perfect size for a dragon egg. So I made one:

I really liked the way this egg felt when I held it. It had a great weight to it. And because I didn't use any sort of form at all (like I did for the other eggs) it fit into the curve of my hand in a very satisfying way.
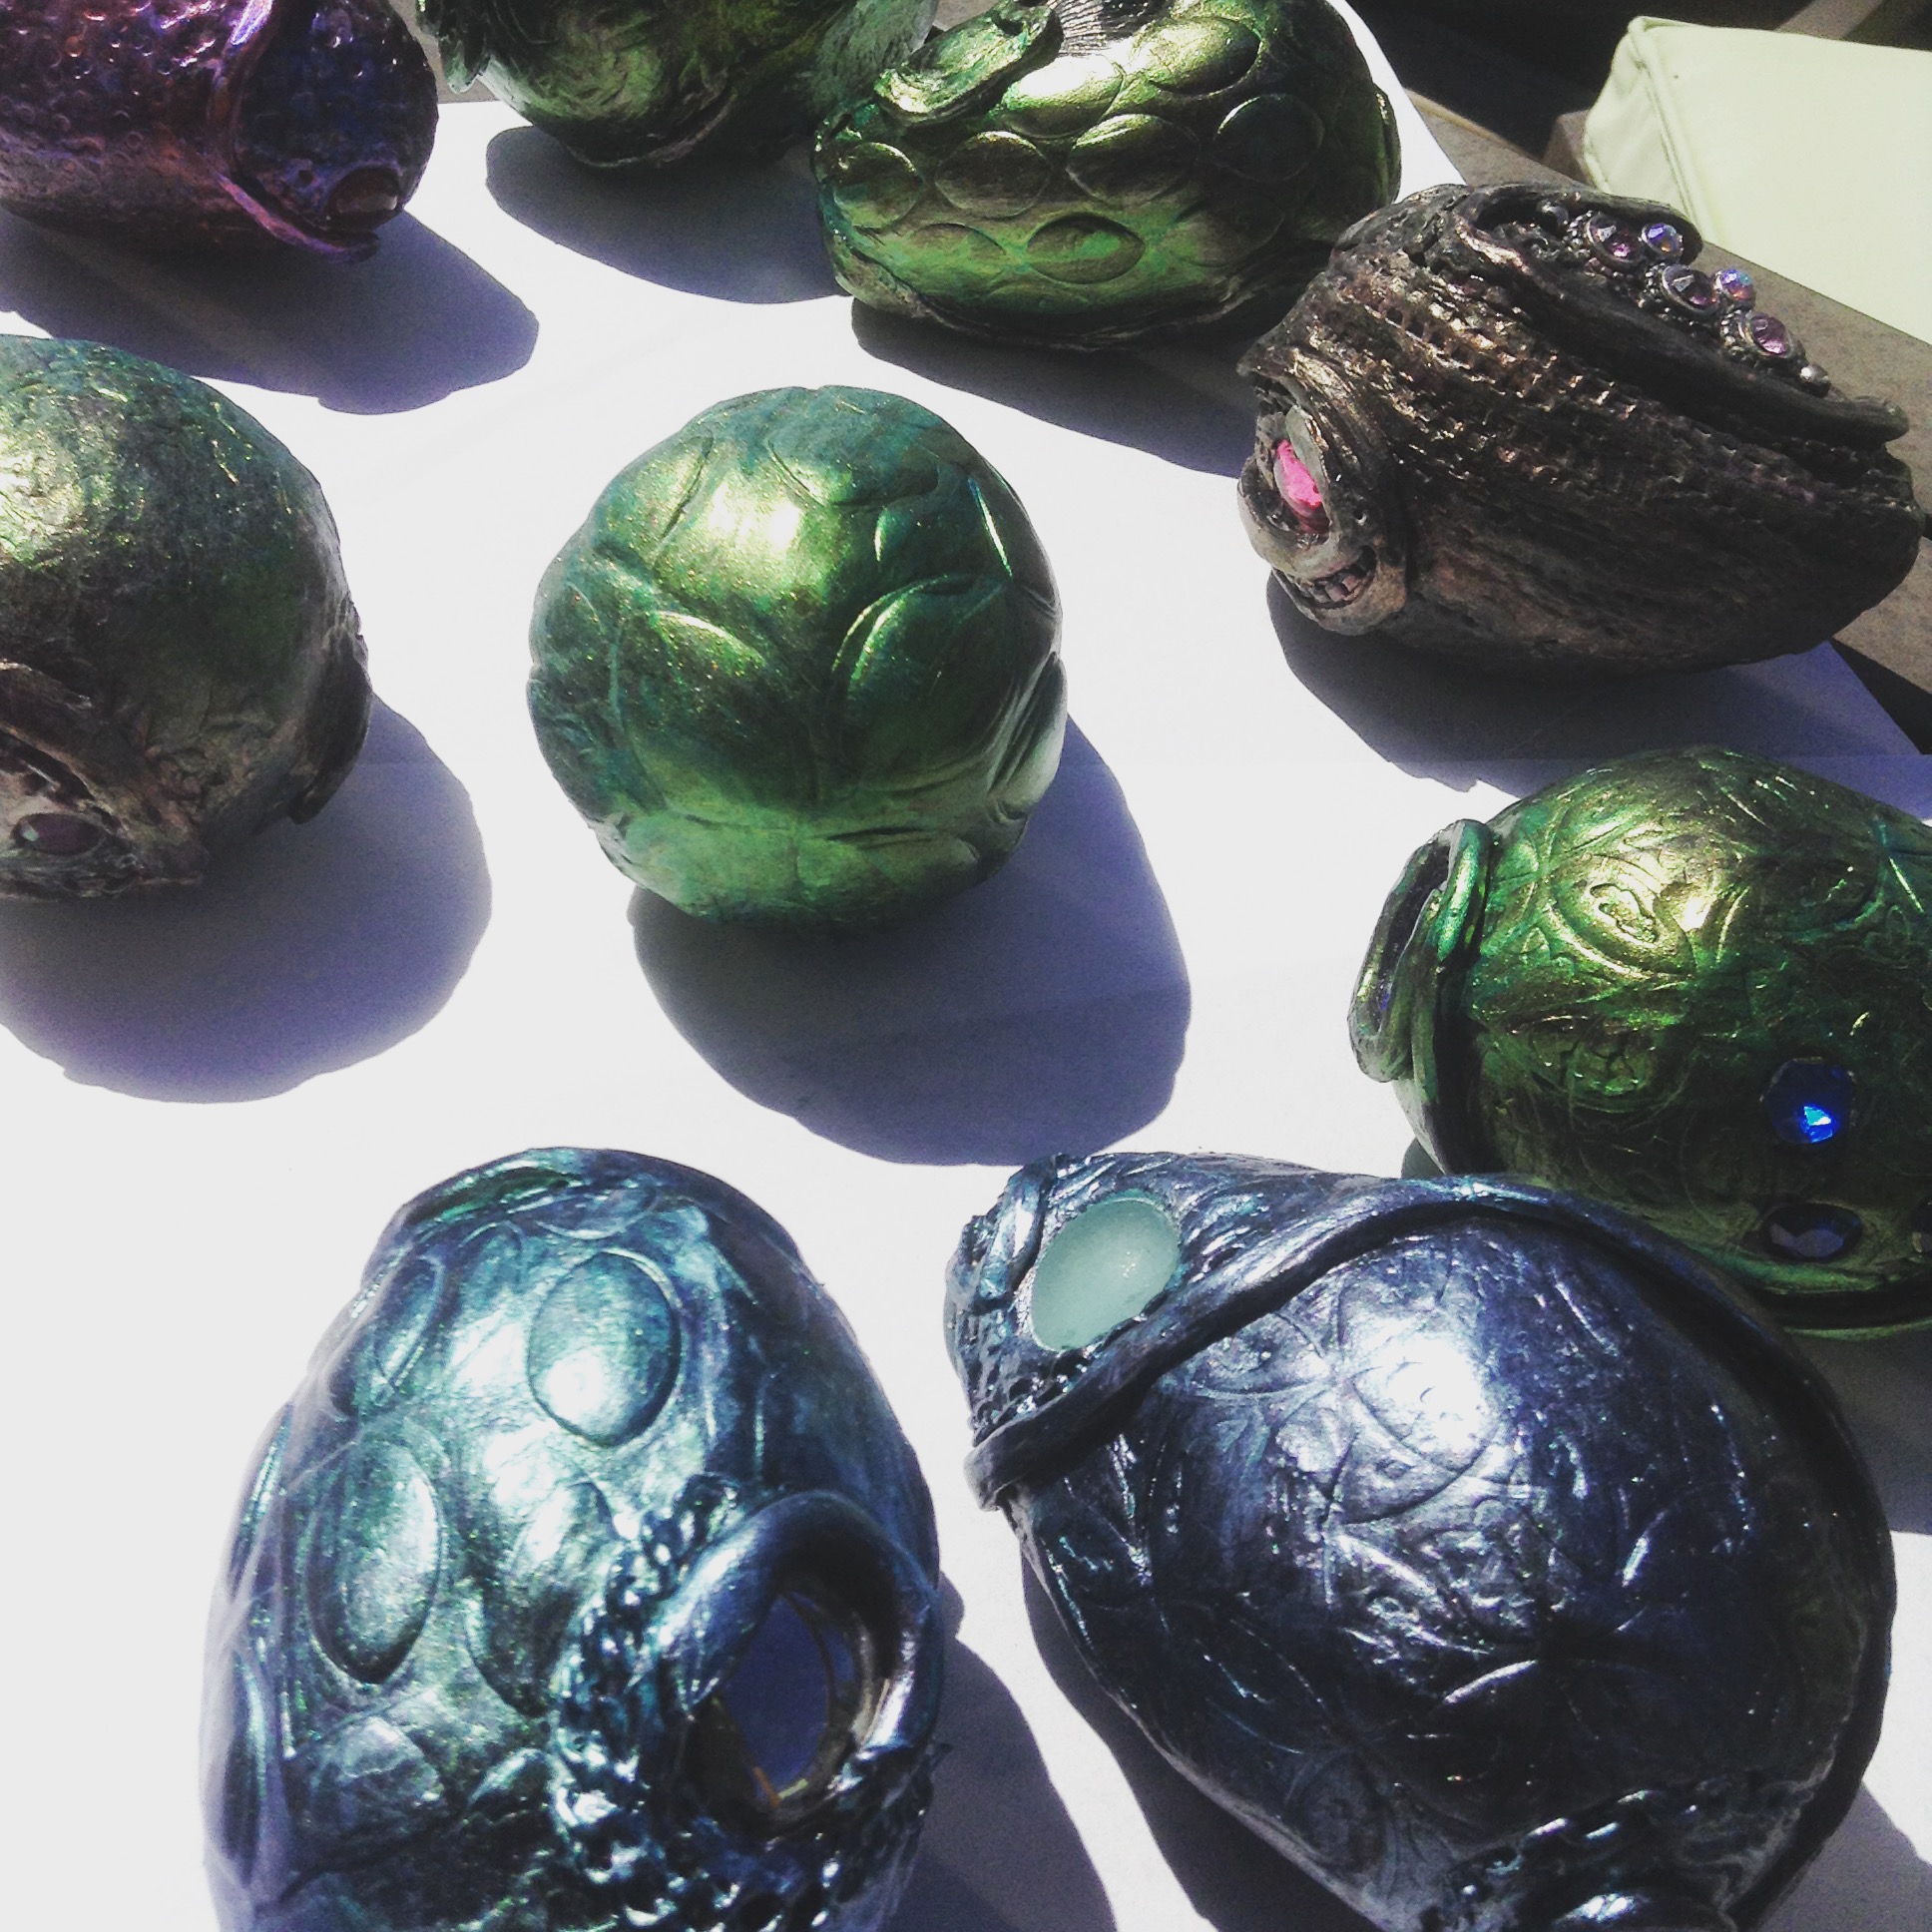
So of course I decided to make some more dragon eggs and went to the dollar store for clay; and I also went to the art store for some different paint colours (I love the green eggs - which seem to be everyone's favourite - but wanted to explore other colours).
So I made 11 eggs to make an even dozen dragon eggs of clay:


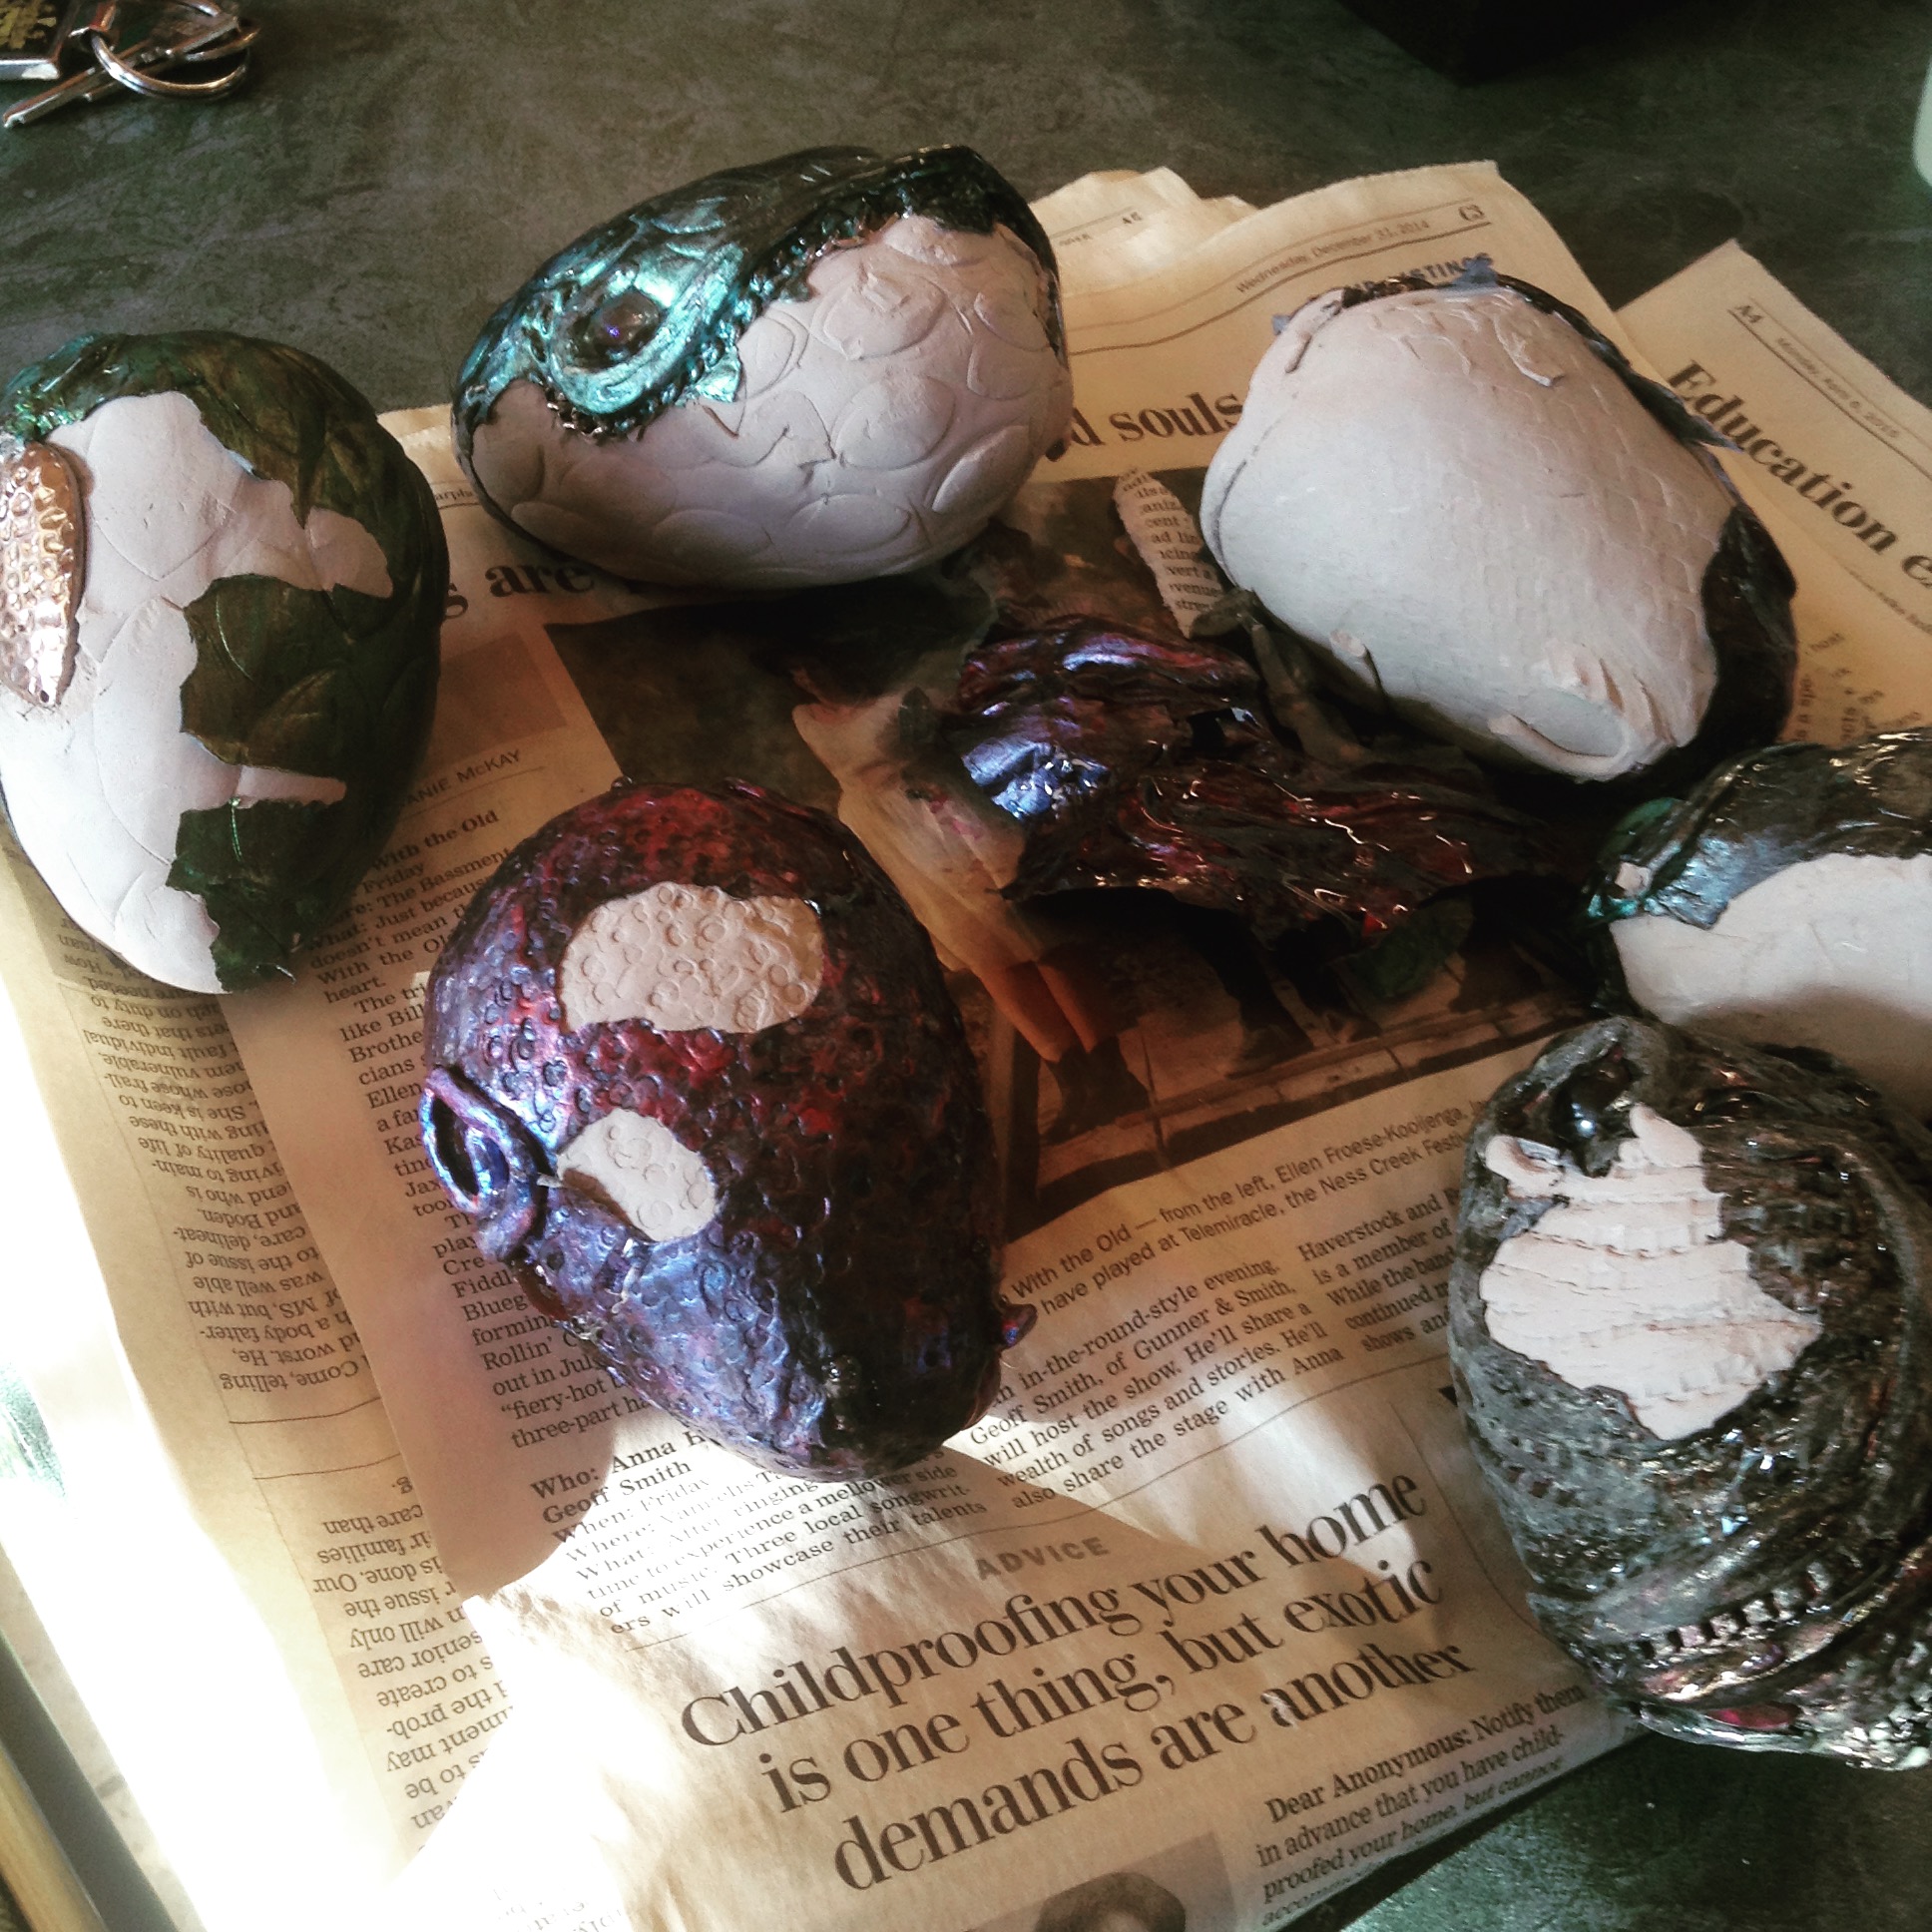
When the eggs dried the curly bits dried first and then promptly (and mostly) fell off.
I glued them back on...I couldn't always figure out what went where so some eggs have less curly bits than when they started out...


Then I used this lovely new "bone black" paint as a base coat:

After that I added in several layers of sparkly paint and also tried out those new bottles of interference paint (interference paint changes colours depending on which angle you look at it from - so it "interferes" with your perceptions).
I was very happy with how these turned out:
A few weeks ago I bought some ecopoxy resin - a soy based non-toxic resin product - and finally got up the courage (and had the time) to try it out. It's nice stuff http://ecopoxy.com/.
However...the resin dripped along the egg and stuck to the paper and then when I tried to remove it the paint totally detached from the egg and peeled off. Sigh. Note to self: don't use Bone Black paint as a base anymore - go back to that other mars black acrylic.
I repaired the eggs and tried again. This time I balanced the eggs on cups so that there would be fewer points of contact and the contact points would be on the ends of the eggs. The resin spread though and I had to repair the eggs, again. The resin looks so beautiful that I am going to persevere until I get the eggs covered in their entirety:

Still thinking about how best to do that.
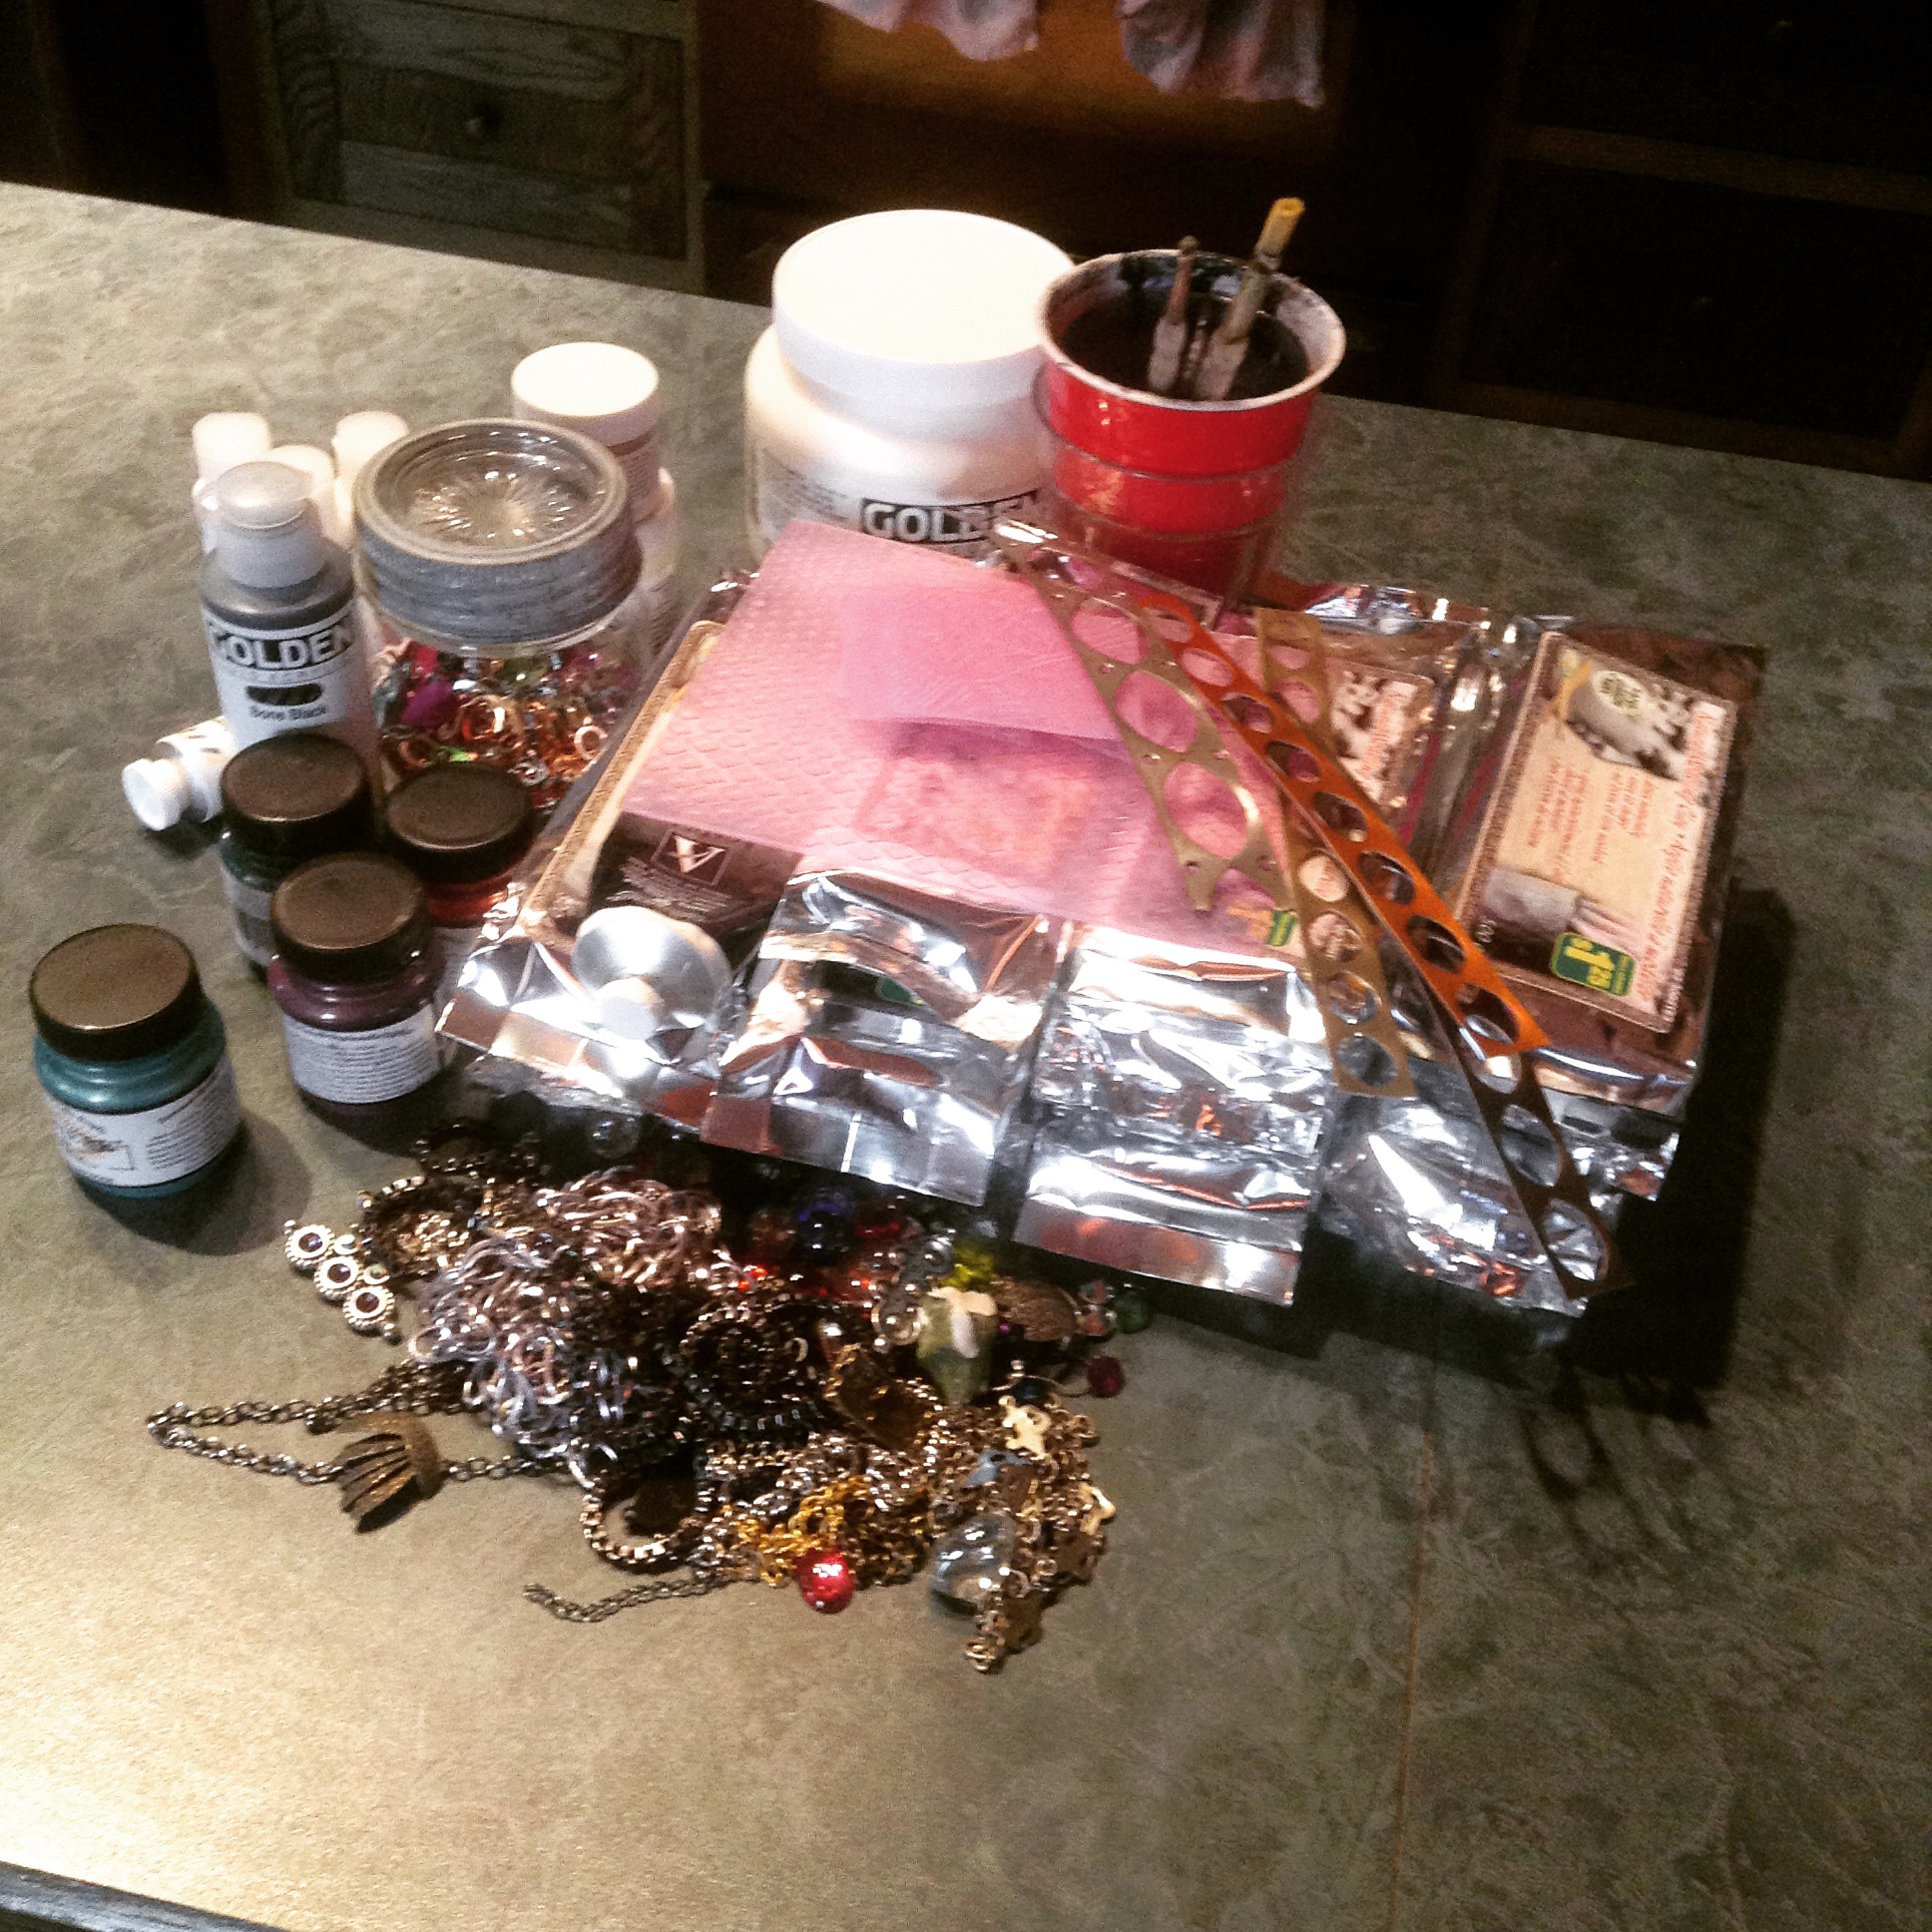
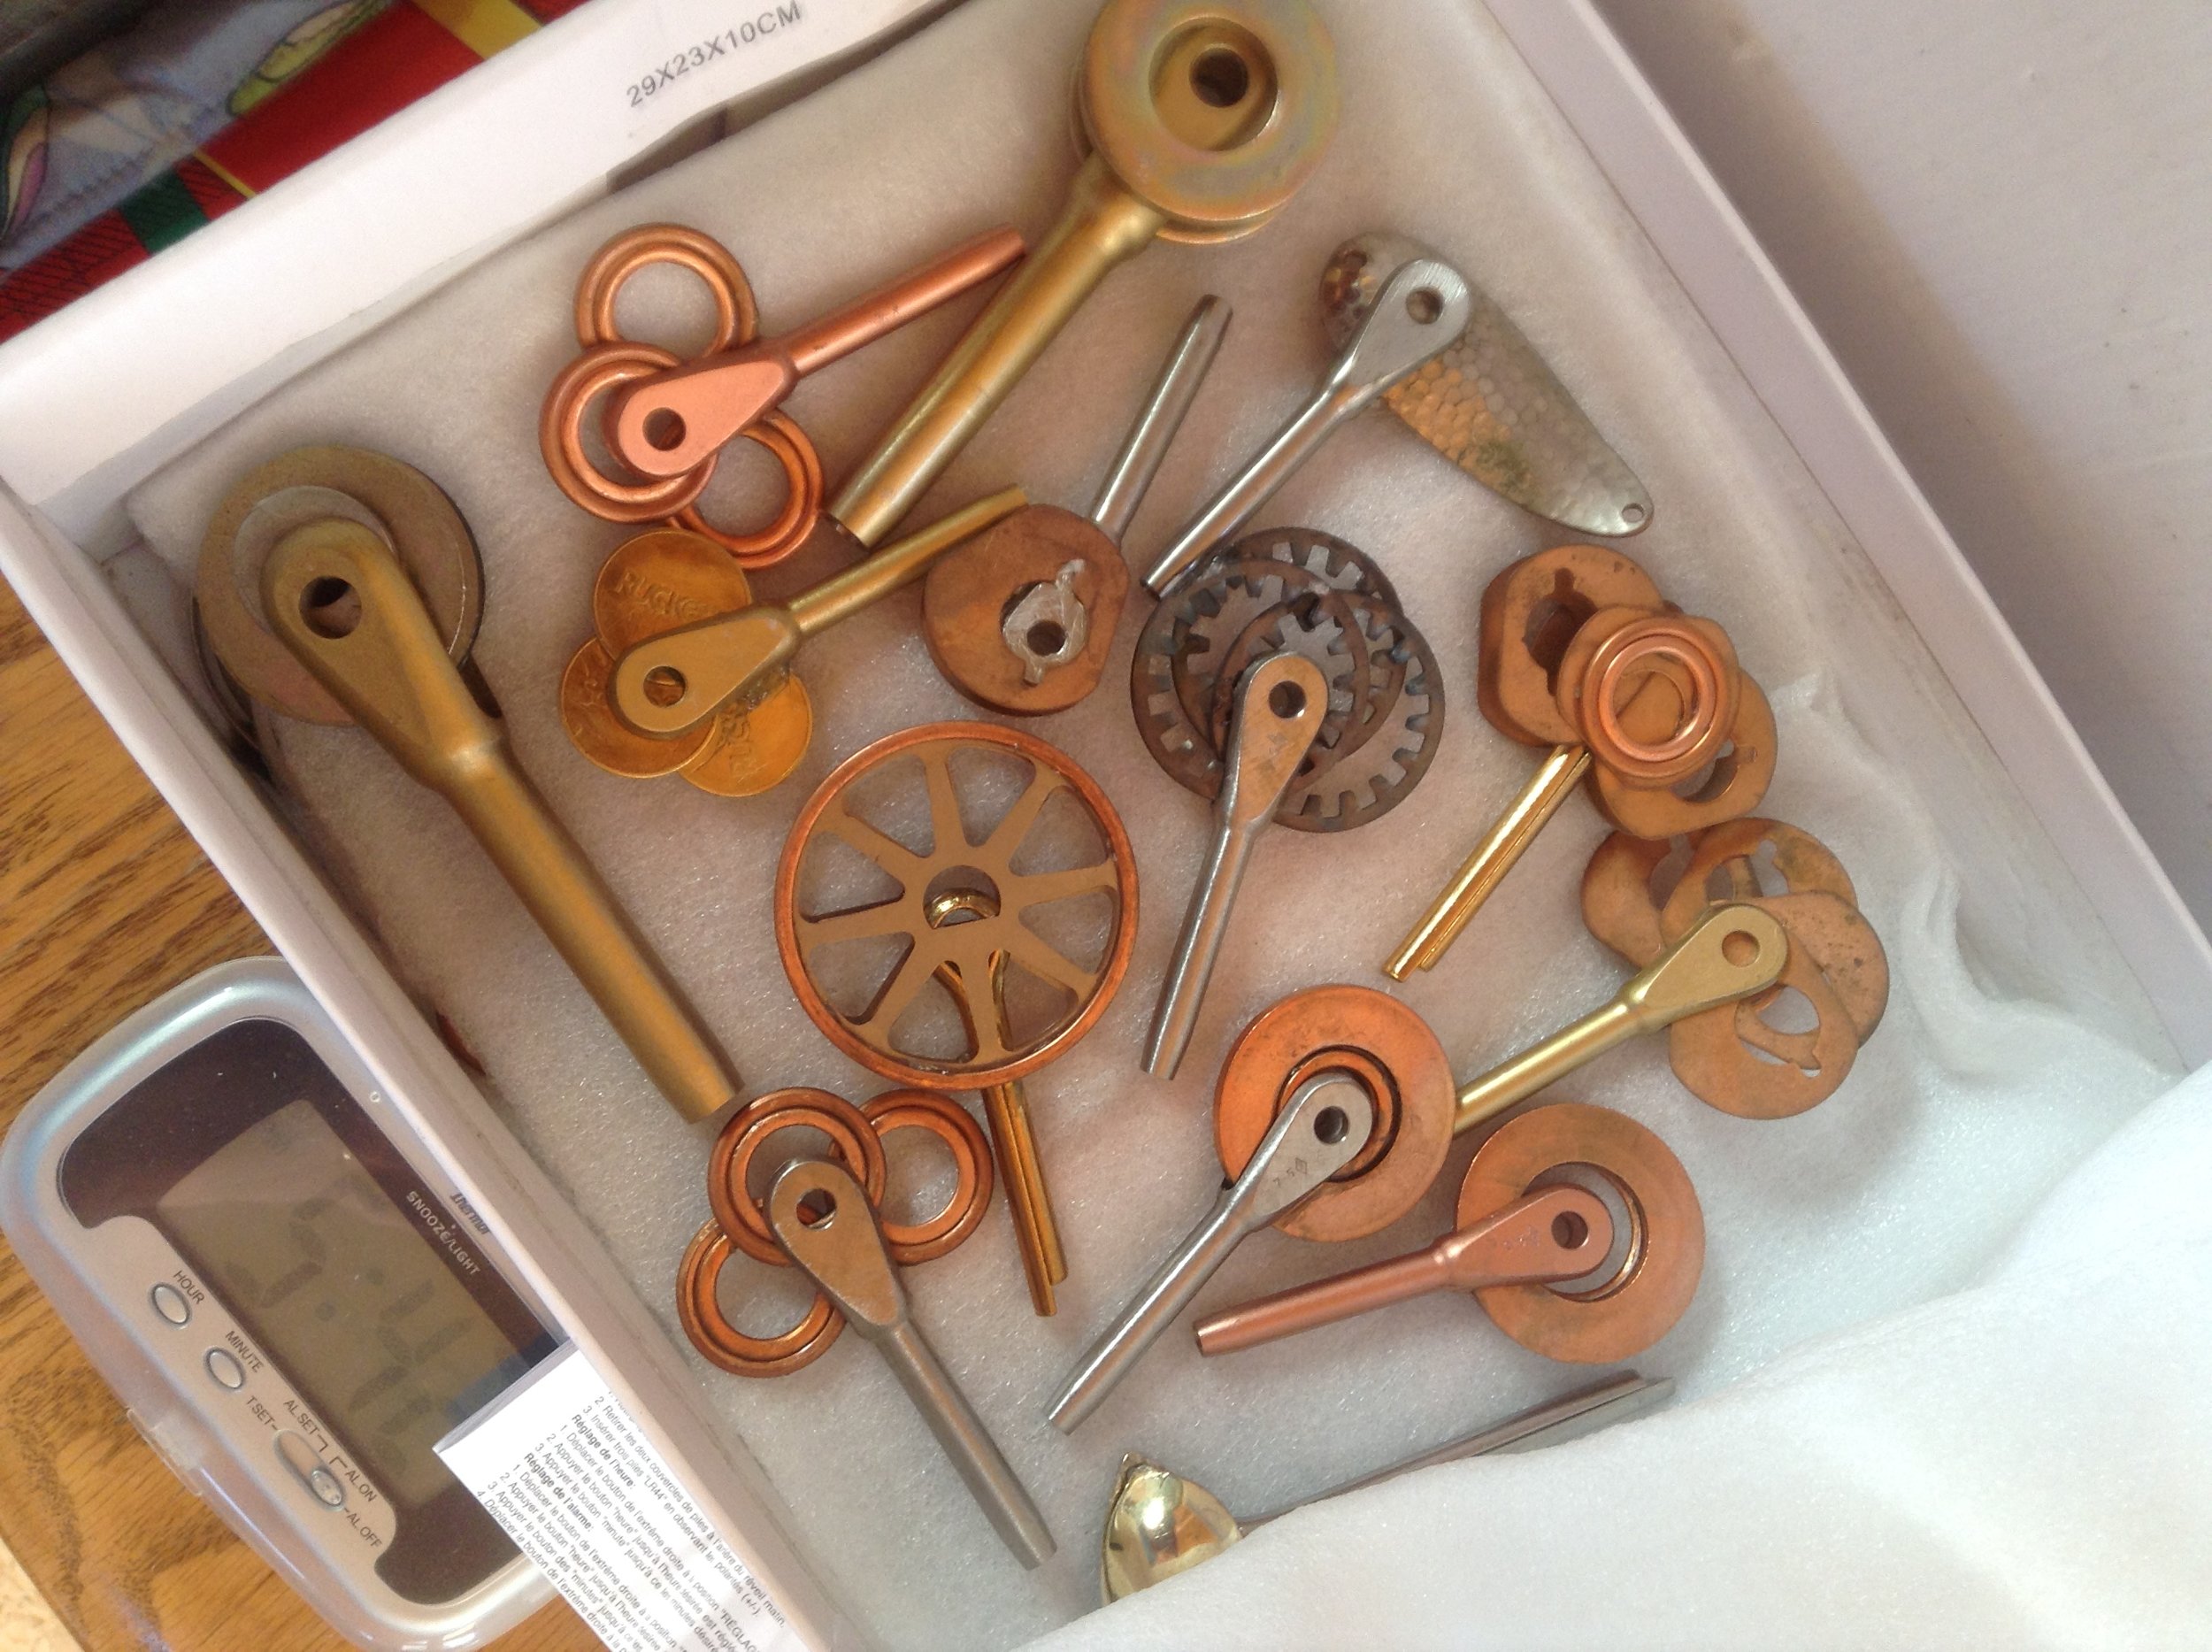
I was on holidays for a few days after the long weekend hence my egg and key-making flurry of activity. Yes, key-making - I laid the groundwork for almost another 100 keys - I'm looking forward to decorating these babies:


While on holidays I went to a few garage sales. One of them had a Display unit for sale...and I'd been looking for a way to create a better workshop space. So for $30 and the goodwill and strong backs of my husband and brother-in-law I have a more organized workspace:


The great thing about this unit is that I can hang more things on it - and it's on wheels so I can easily move it about!
Also in this time period I did some digging in the yard, some decluttering at work (where my co-workers gave me many lovely metal pieces from some unwanted easels that will make great big keys), danced with depression (very glad this dance is over!), and made some more fairy doors because people have been asking about them.
So that's a fair bit of distractions and other d- based activity!